| Expand | ||||
|---|---|---|---|---|
| ||||
|
Contents
| Table of Contents | ||
|---|---|---|
|
Introduction
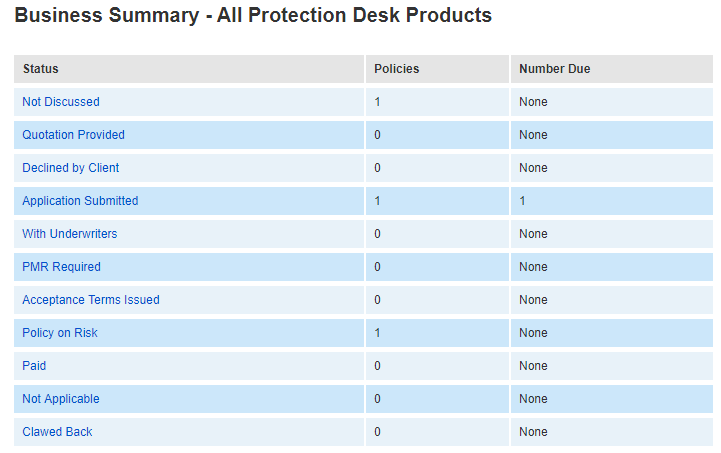
Your workflow appears on the homepage in your eKeeper CRM and allows you to see an overview of the number of products you currently have active and where they sit in your business process. An example of the workflow as it might appear on the eKeeper CRM homepage is shown to the right. Each row is labelled under the status column and represents a point in your business process. We call these points in your process a stage or status.
This guide will show you how to setup new stages, and how to apply these to the products in your system.
| Expand | ||
|---|---|---|
| ||
Creating a new stage
To being look for system settings which appears in the top navigation bar on any page within the eKeeper CRM.
Figure 1 - Top Navigation Bar
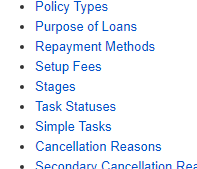
Next look for the Product Setup section and click stages to continue.
Figure 2 - Stages
| Expand | ||
|---|---|---|
| ||
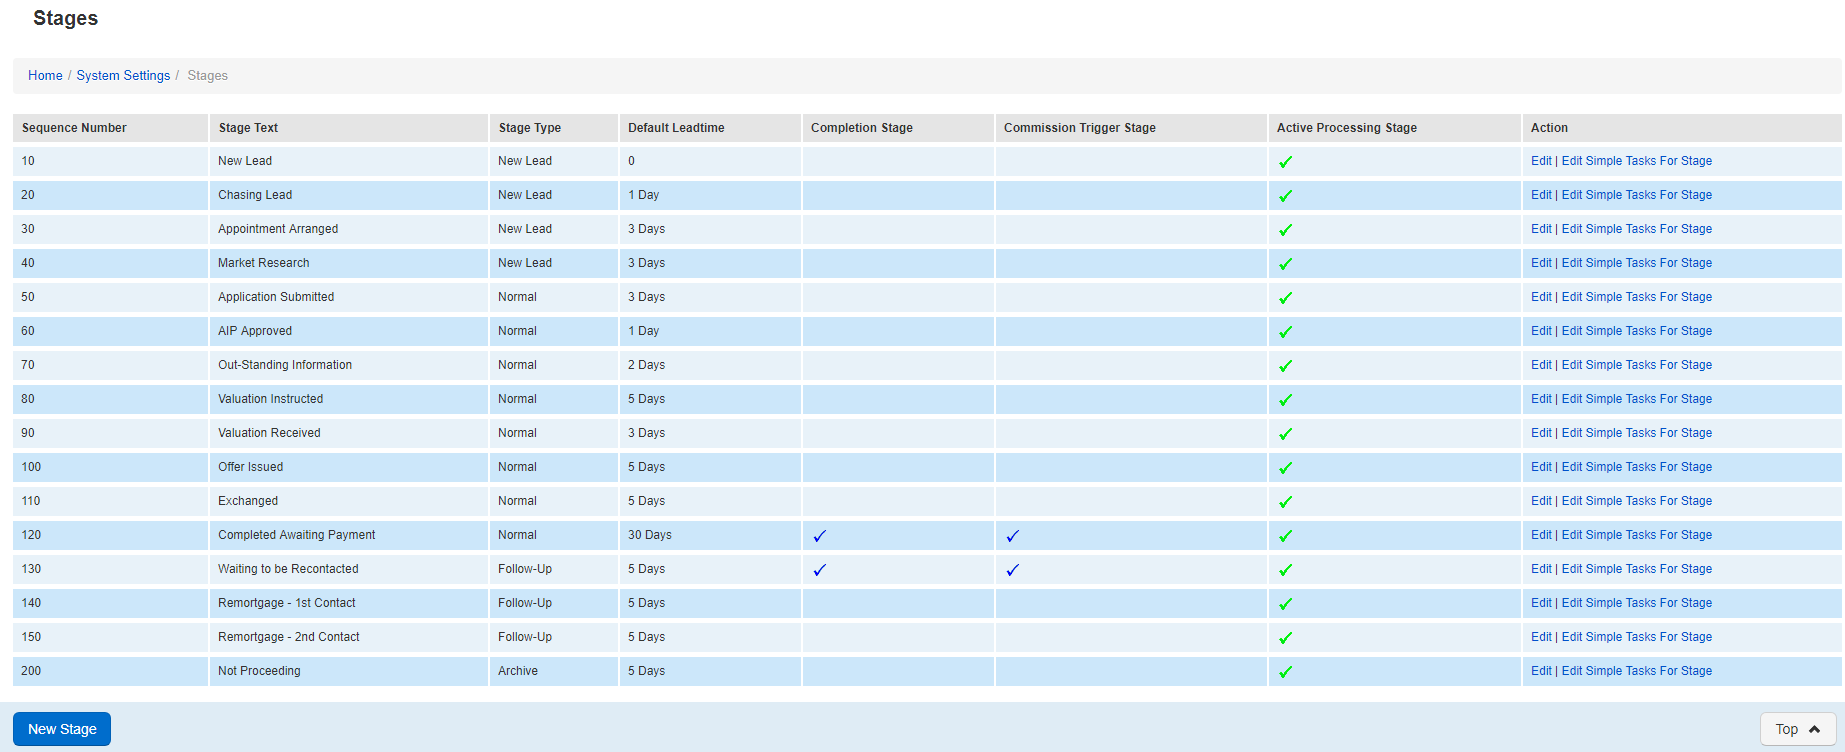
You will now see a list of the existing stages in the your system (see right). To create a new stage click New Stage in the bottom navigation bar.
Figure 3 - New Stage
| Expand | ||
|---|---|---|
| ||
| Expand | ||||||||||
|---|---|---|---|---|---|---|---|---|---|---|
| ||||||||||
There are several columns of information displayed here:
|
There are two panels on this page:
Stage Details
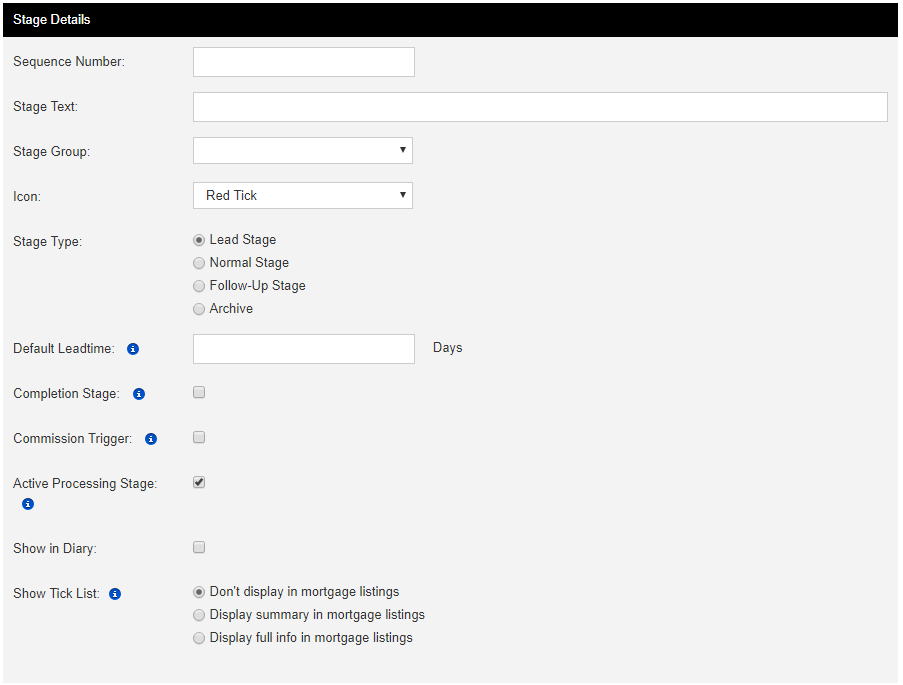
The stage details panel contains the initial setup options for the stage. Fill out the fields as required to continue.
Figure 4 - Stage Details Panel
| Expand | ||||||||||
|---|---|---|---|---|---|---|---|---|---|---|
| ||||||||||
There are several columns of information displayed here:
|
Applies to Products
eKeeper CRM allows you to specify a differnet workflow against different products. The Applies to products panel stages is where you can specify which products this stage will apply to. Simple Tick on the products that your new stage applies to.
Figure 5 - Applies to products panel
Saving the stage
Once you have finished filling out the Stage Details and Applies to Products panels, click the Save Stage button, located in the bottom Navigation bar (figure 7)
Figure 6 - Bottom Navigation Bar
Contents
| Table of Contents | ||
|---|---|---|
|


