Introduction
When you have two applicants on a case, this guide will show you how to send a Finova Client Portal invite email to ‘Applicant 2', allowing them to create a Finova Client Portal login, allowing both ‘Applicant 1’ & 'Applicant 2’ to login and use the Finova Client Portal.
| Info |
|---|
View this guide when inviting customers to the Finova Client PortalEnabling the portal for your Client |
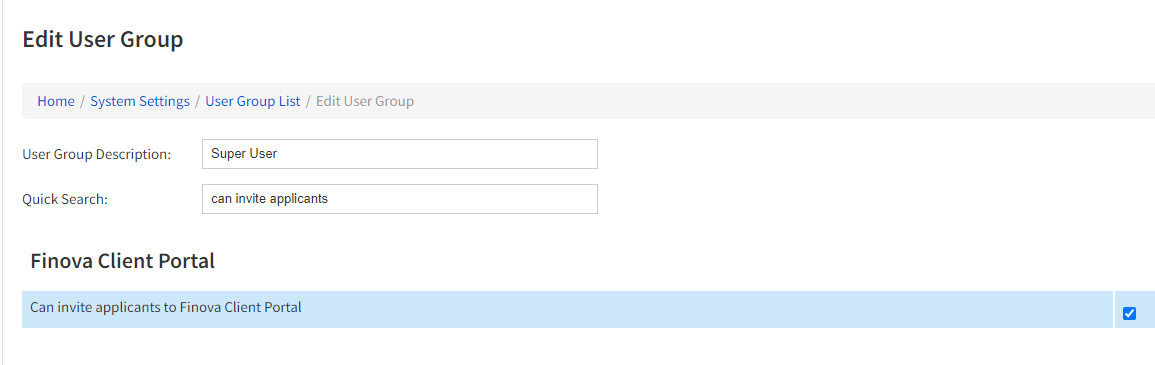
User Permissions
These are the permissions you’ll need to enable to invite customers to the Finova Client Portal:
System Setting >> User Permission Groups & Set Permissions >> Enable - Can invite applicants to Finova Client Portal
| Info |
|---|
Click to expand image |
How to Invite ‘Applicant 2’
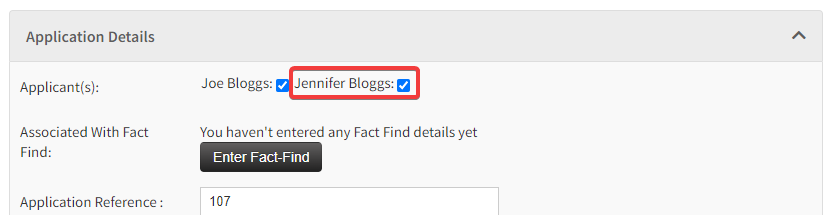
Step 1:
Navigate to the applicant product
Ensure you have ticked applicant 2 on against the product
| Info |
|---|
Click to expand image |
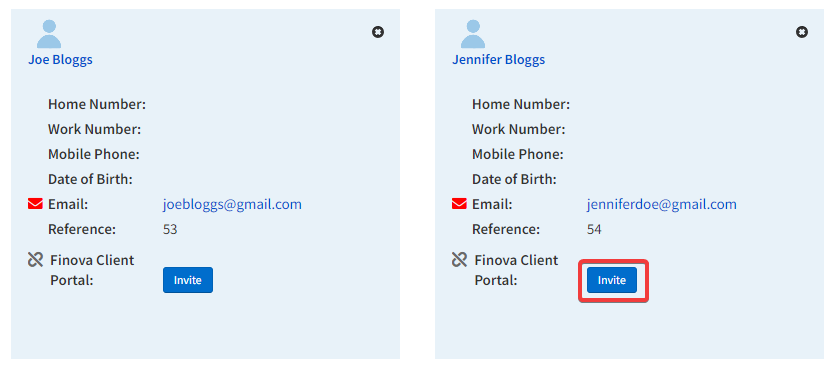
Step 2:
Ensure there is a valid email address entered for ‘Applicant 2’
Each applicant will have a blue ‘Invite’ button as shown
Click the invite button to send the invitation
| Info |
|---|
Click to expand image |
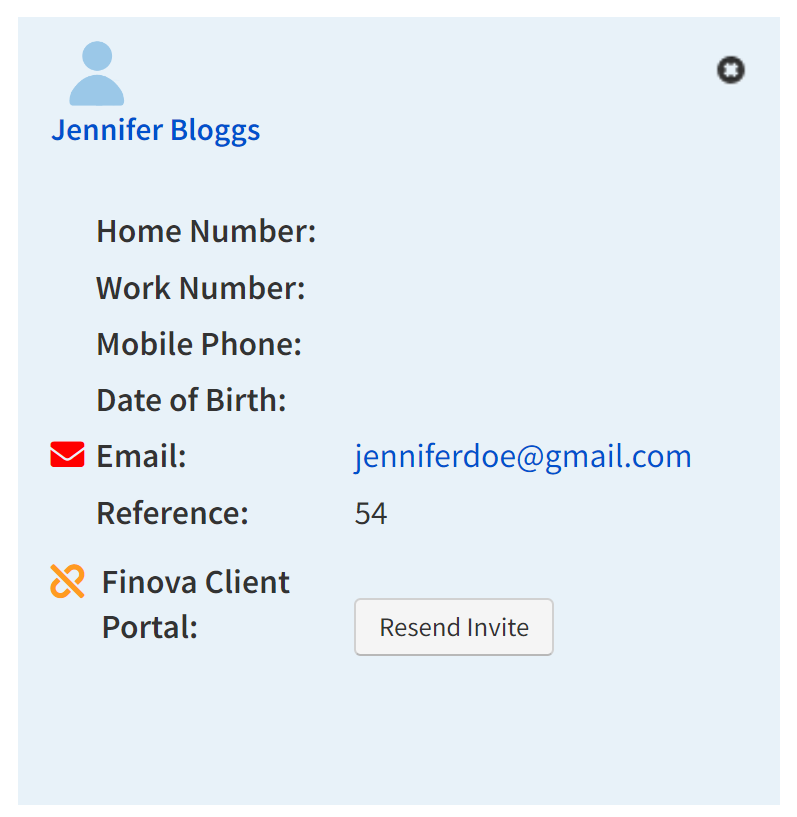
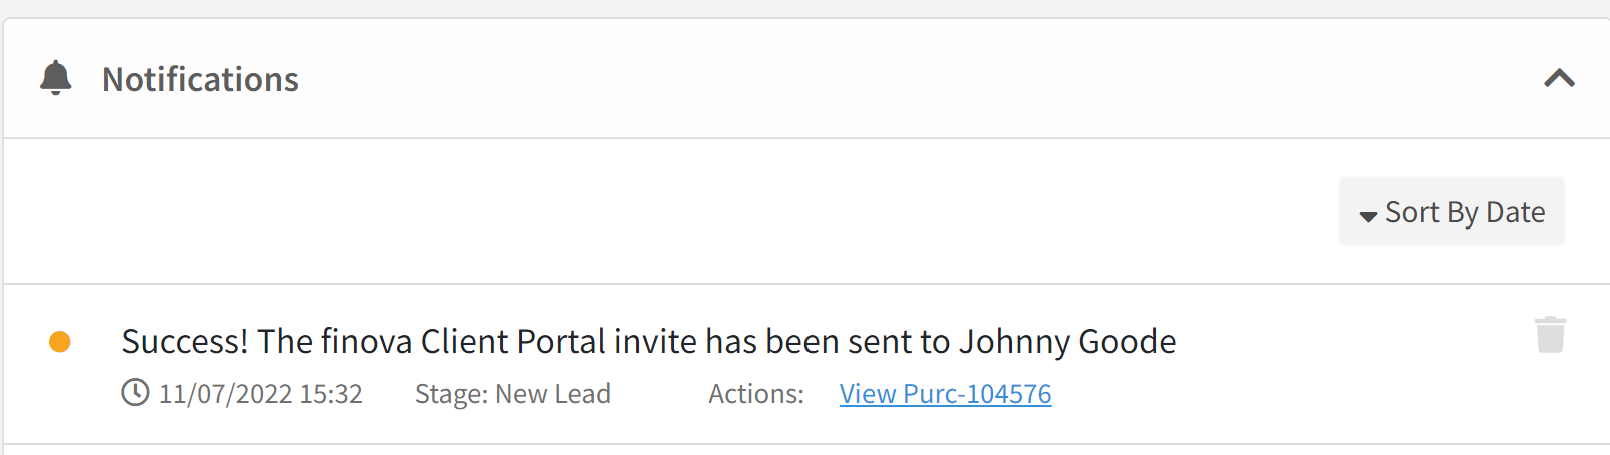
Invite Confirmation:
The system will create a notification, confirming the invite was successfully sent
You will see the INVITE button now displays RESEND INVITE, allowing you to send the invite again if needed.
In addition, the link icon has also changed to amber.
Portal Link Meanings:
 | No invitation has been sent |
 | Invitation sent, but not activated |
 | Invitation sent, and active |