Versions Compared

Key

  • This line was added.
  • This line was removed.
  • Formatting was changed.

Introduction

The Support Documents panel found on a case is an area to request and organise key supporting documents relevant to the product you’re working on for a customer.

Info

This is the panel where you control which documents you’re requesting your customer to upload on the portal.

Table of Contents
minLevel2
maxLevel6
include
outlinefalse
indent
styledisc
exclude
typelist
class
printablefalse

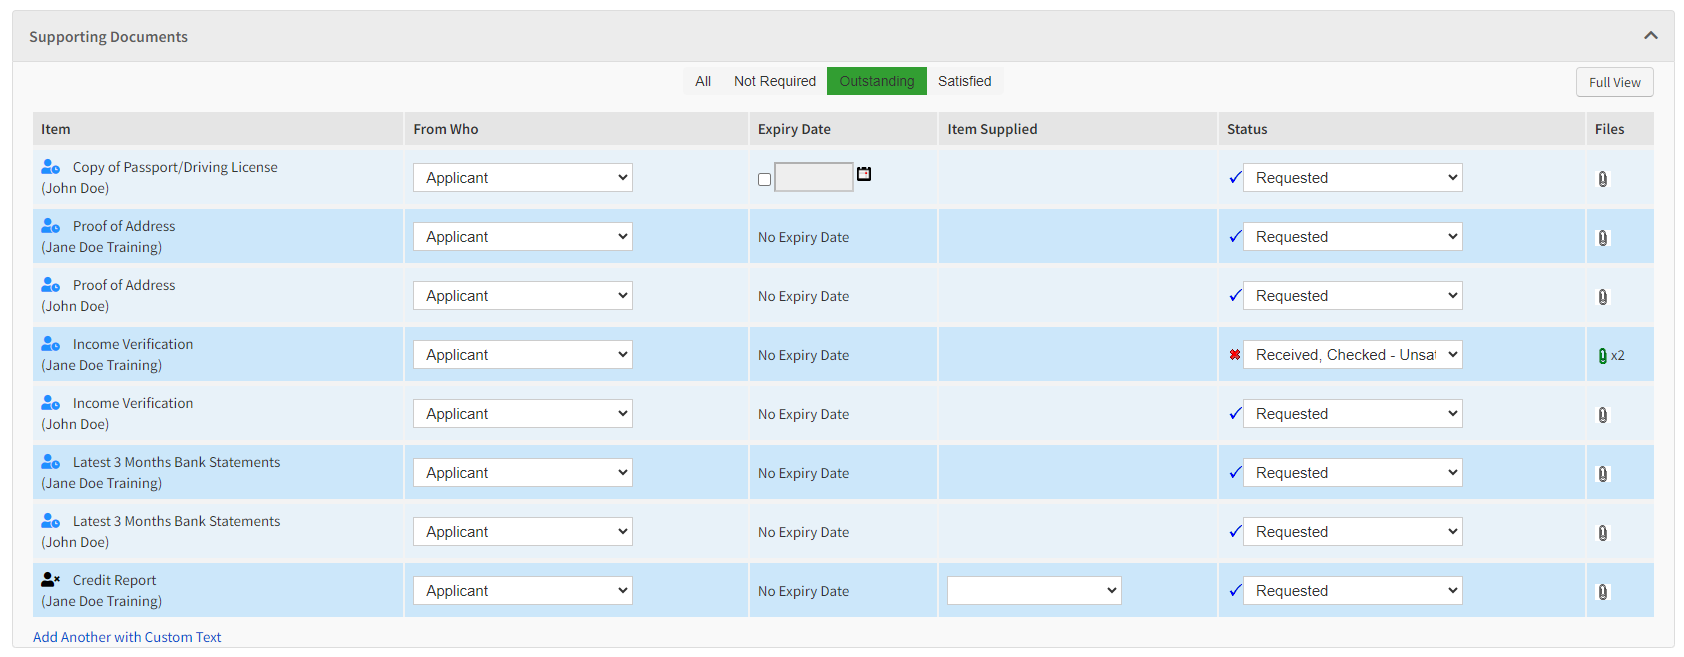
How to Send a Document Request to the Customer Portal

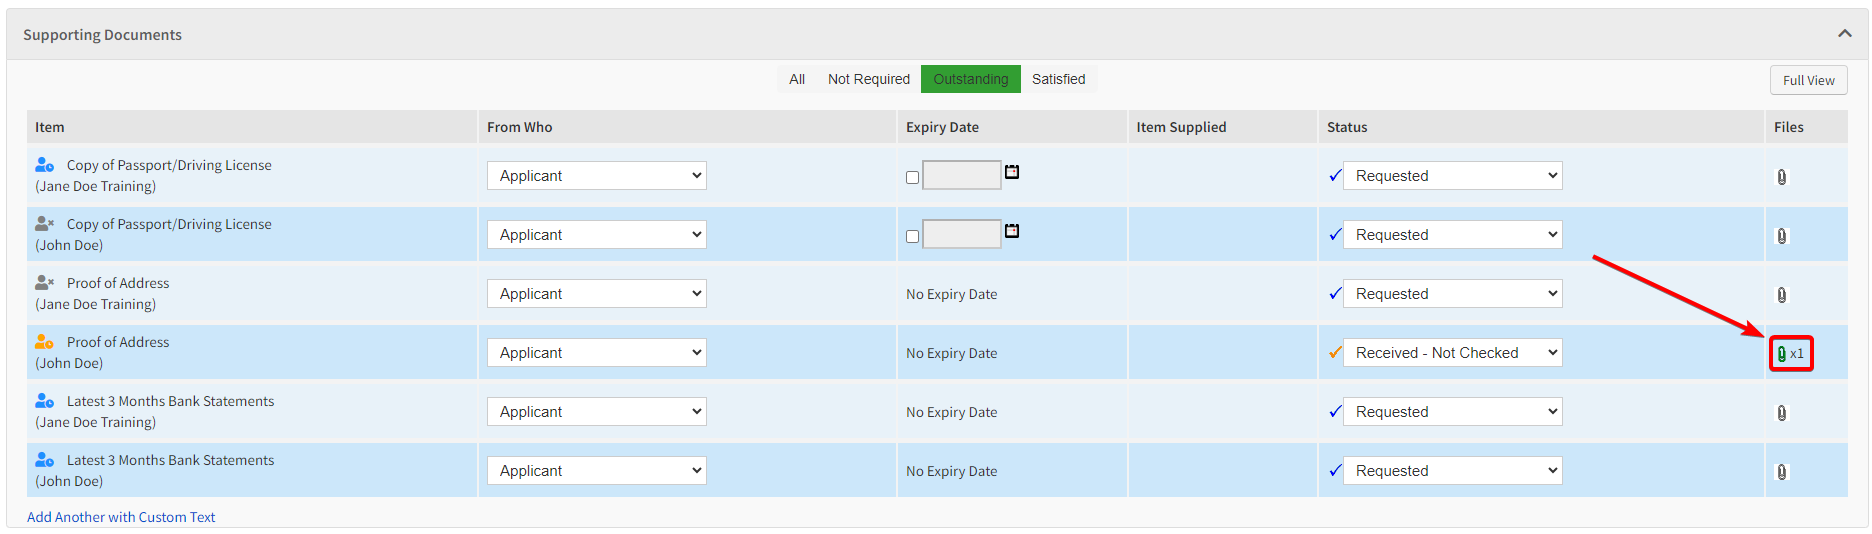
  • Go to the ‘Supporting Documents’ panel

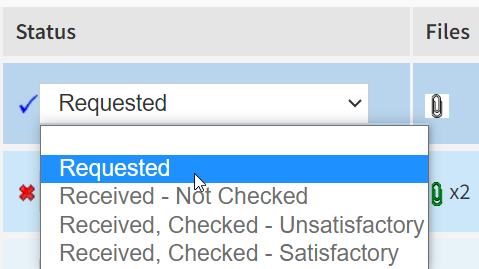
  • Set ‘Status’ to ‘Requested’
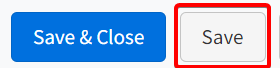
  • Press ‘Save’


Status

These can be renamed or added to under: System Settings >> Supporting Document Statuses

Each time you change ‘Status’, press ‘Save’.

  • Blank Status - this item is not required

  • ‘Requested' - will be sent to Finova Client Portal after pressing ‘Save’

  • ‘Received Not Checked’ - once a document has been received from the portal.

  • ‘Received, Checked - Unsatisfactory’ - select this status, and press ‘Save’, to send the request back to the portal.

  • ‘Received, Checked - Satisfactory’ - to mark this item as ‘Satisfied, it will move to the 'Satisfied’ column


Item Icons

  • (On Portal) This item exists on the Finova Client Portal but has not yet been supplied

  • (Not on Portal) This item does not exist on the Finova Client Portal.

  • This item has been received from the Finova Client Portal and is satisfactory.

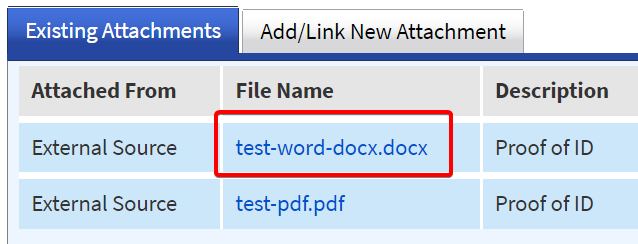
  • Click here to view the files you have received.


Review a Document

Once a customer has uploaded a document to the portal, you will receive a notification on the home page of the CRM, which looks like this.


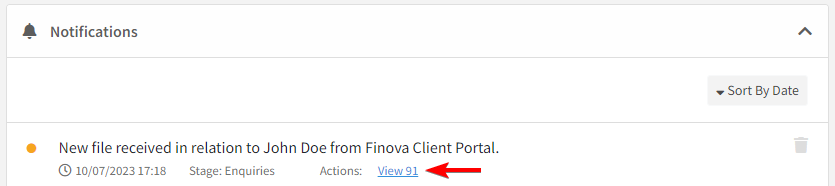
  • Click here to review the files you have received


Upload a Document

You can receive your files via the portal, or you can upload them directly here.


Configure Supporting Documents

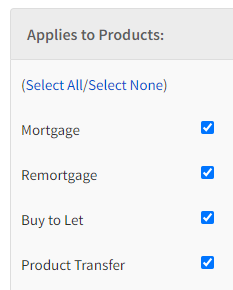
You can configure when supporting documents are applicable:

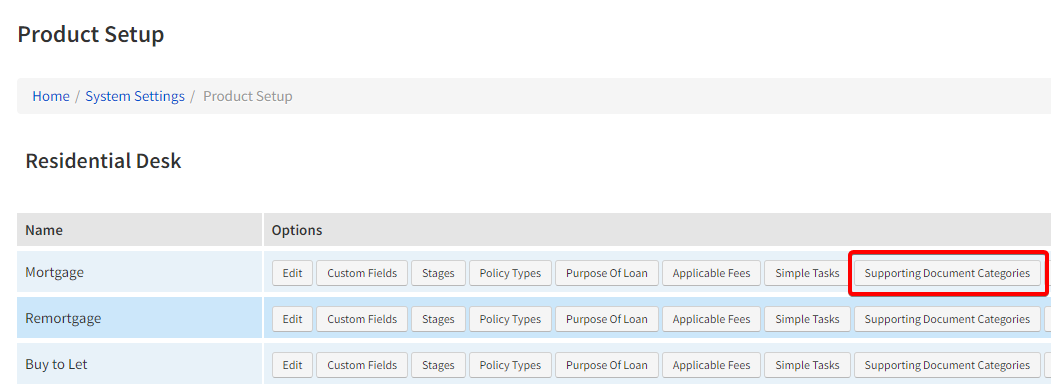
  • Applicable by Product type


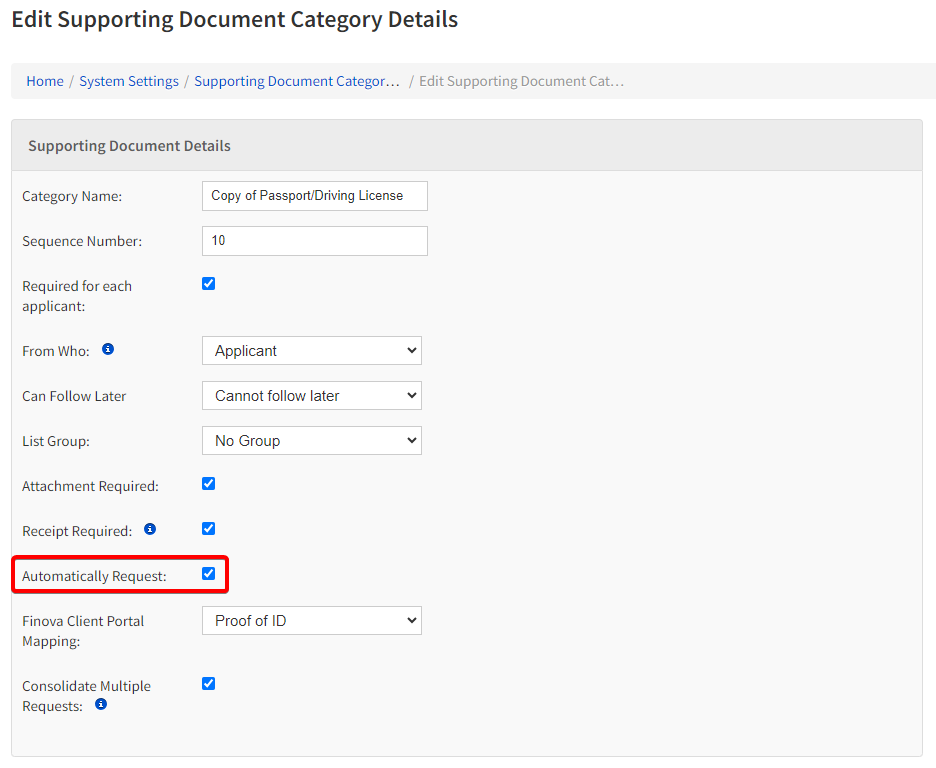
  • Automatically Request to portal Supporting Document


  • Applicable by Stage

Info

System Settings >> Products >> Supporting Document Categories >> Edit >> At Stage(s)
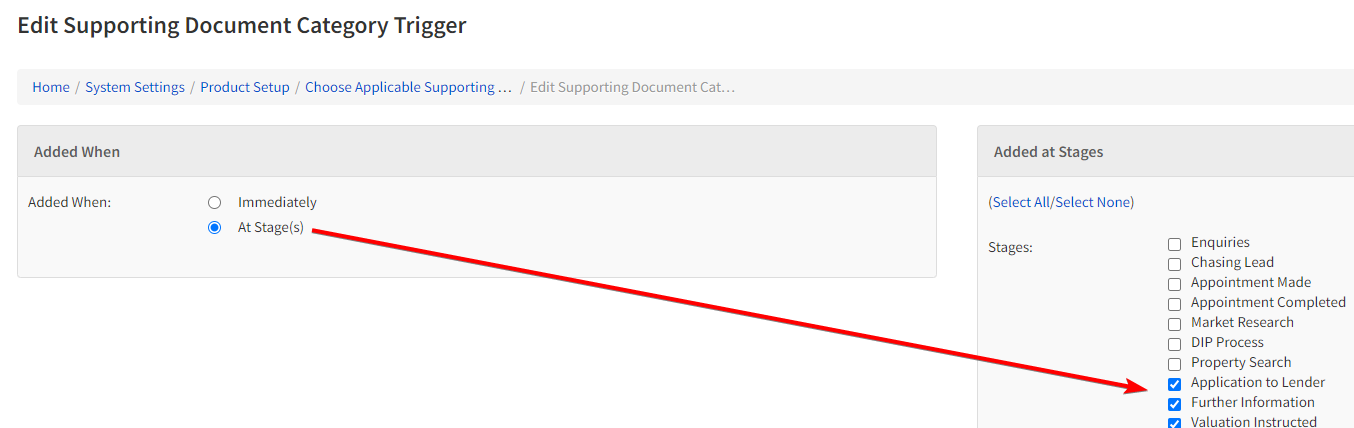
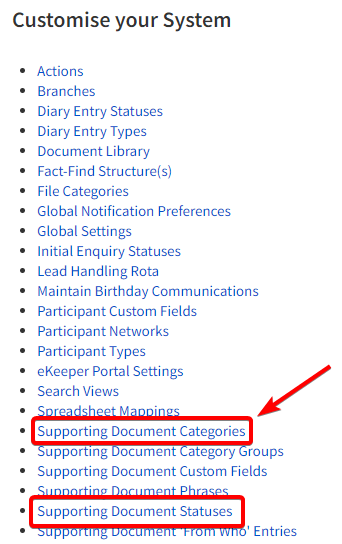

Info

System Settings >> Supporting Document Categories


Add New Supporting Document Category

You can create new supporting document categories, don’t forget to map the categories you create to the portal in the next step.

To create a new supporting document category, follow the steps shown in this video.

Info

System Settings >> Supporting Document Categories

chrome_nrk0nGqIoS.mp4


Map to Finova Client Portal

Note

IMPORTANT: document categories must be mapped in order to be sent to the portal.

In order for your Supporting Document Category to be able to be sent to the Finova Client Portal you have to map it.

https://ekeepergroup.atlassian.net/wiki/spaces/ESD/pages/2187526174/Linking+Supporting+Documents+from+the+finova+CRM+to+the+finova+Client+Portal?src=search