Fact-find Structure(s)
How to customise the fact-find
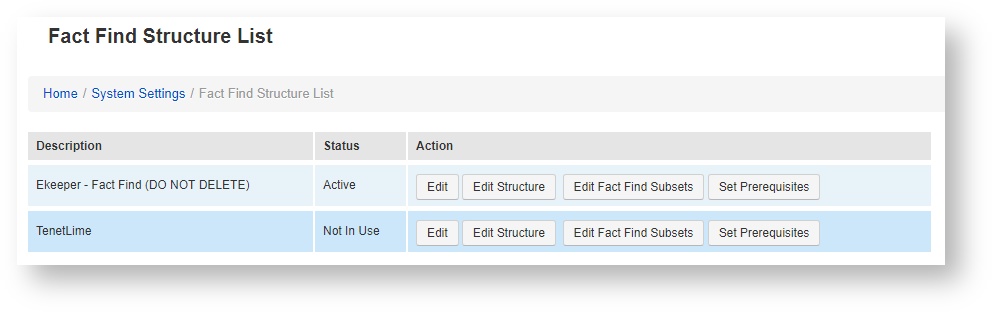
To begin you must first decide on which facft-find structure you wish to edit (see right).
Your system may show more or less structures than are displayed in our screenshot.
Once you have decided on which one you wish to change, click Edit Structure against the relevant fact-find structure.
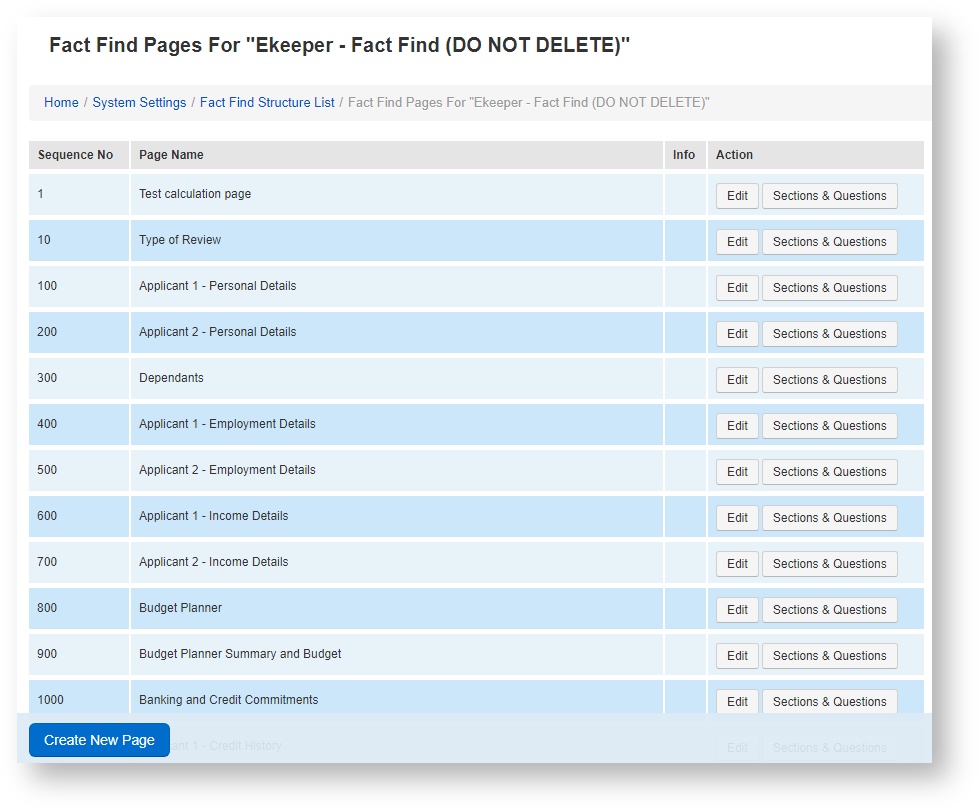
You will now see a list of pages that are contained within the fact-find structure
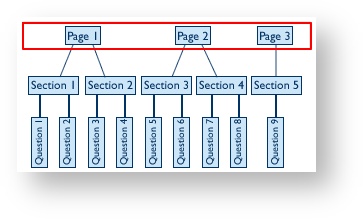
Fact-find a structured as displayed in the diagram below, questions are contained within sections and sections are contained within pages. This same image appears to the right of the list of pages and will display a red box depending on the area you are currently editing.
Creating a new Fact-Find page
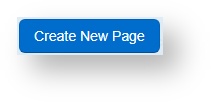
To create a new fact-find page click Create New Page in the bottom navigation bar
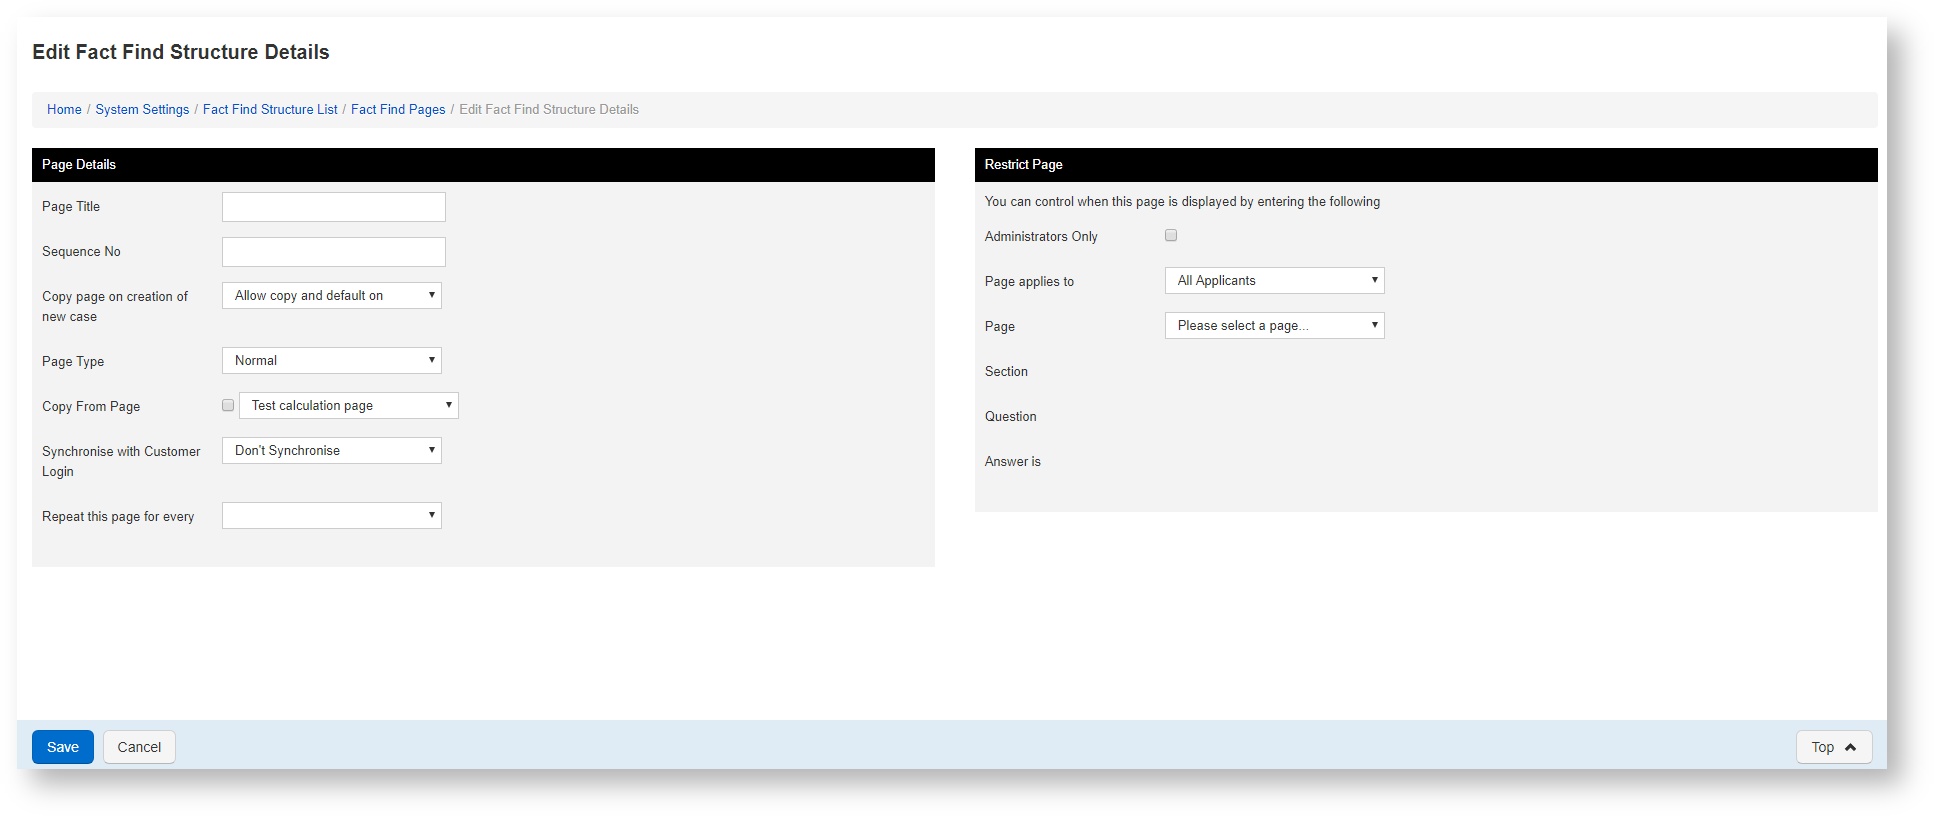
You will now see the page creation screen (right). There are a number of options on this page split into panels, see below for explanations of each.
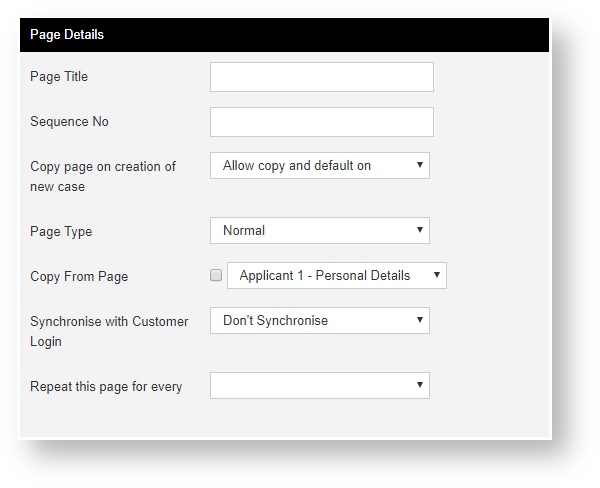
- Page Title - the title of the page you are creating
- Sequence number - the order in which this page will appear amongst the other pages
- Copy page on creation of new case - If you create a copy of an existing product, then you this option defines if the answers to the page you are creating are carried across to the new product
- Page Type - three options to choose from
- Normal - for standard text entry
- Calculation - for incomes and expenditure calculations
- Calculation with annual totals - for incomes and expenditure calculations, with the addition of an annual total of the expenditure and incomes.
- Copy frompage- This serves as a shortcut, if there is another page already in existence that you wish for this page to look like i.e. with the same sections and question fields, then check copy from page and select the page you wish to copy.
- Synchronise with customer login - If you wish this page to display on the customer portal when your customer's access their fact-find, then set this to 'Synchronise'
- Repeat this page for every -
Once you have made your selections click Save
Creating sections and questions for your pages
Now that you have learnt how to create a page for your fact-find, the next thing to do is to add sections and questions to your fact-find.
Creating a Section for your page
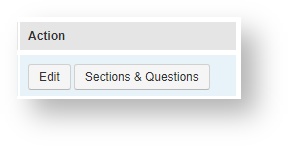
To begin, navigate back to your page listings (right) and then click the Sections & Questions button that appears under the action column (see below), next to the relevant page.

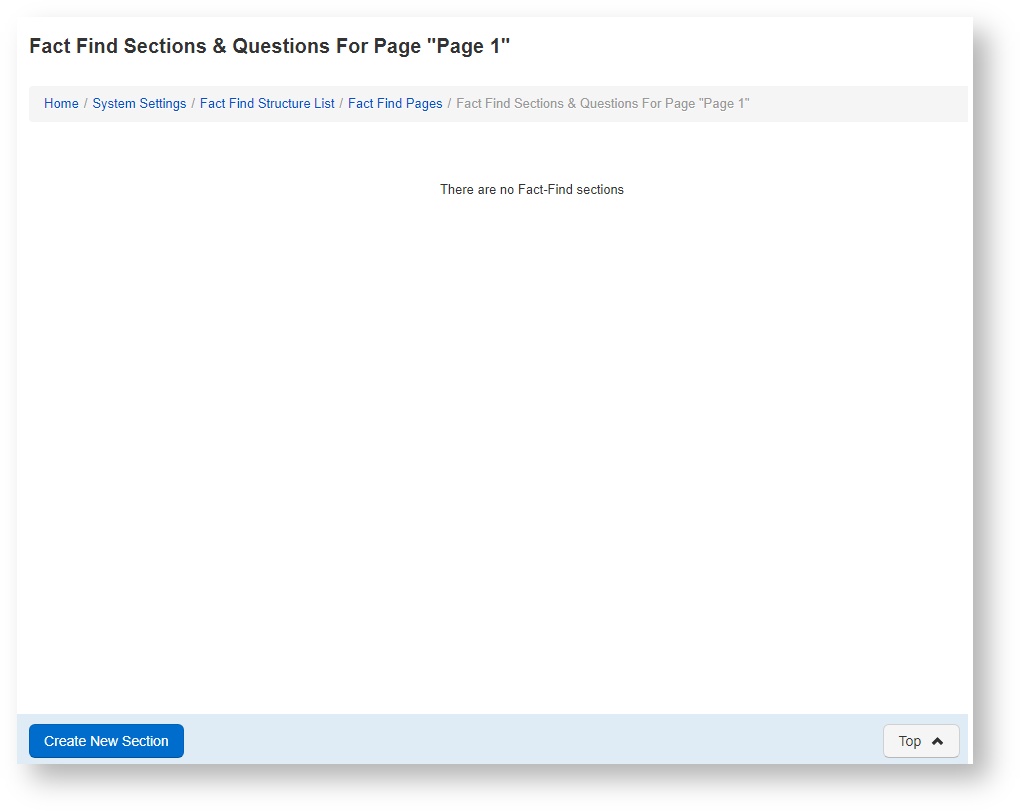
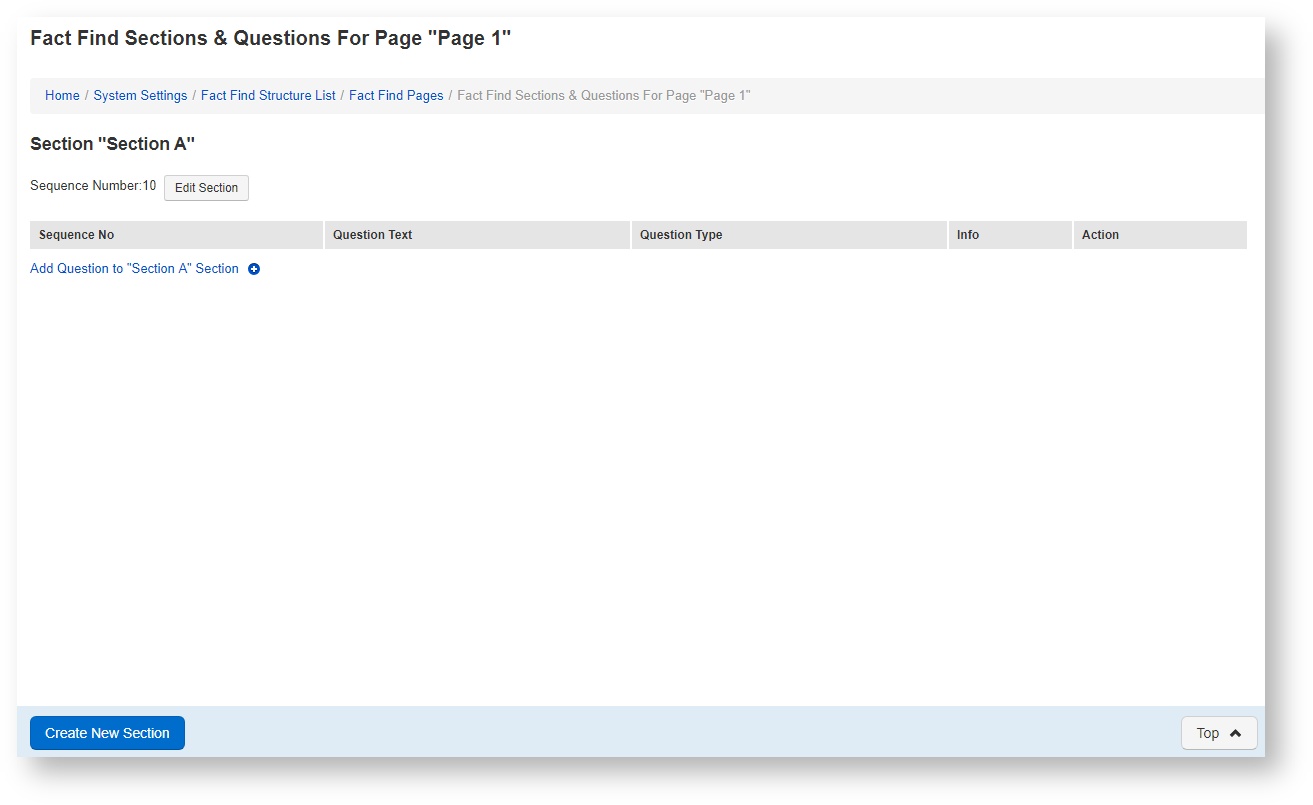
You should now see the sections and questions screen for your fact-find page (see right).
If you are editing an existing page, you page may see some sections and questions displayed here.
To add a new section to your page click the Create New Section button.
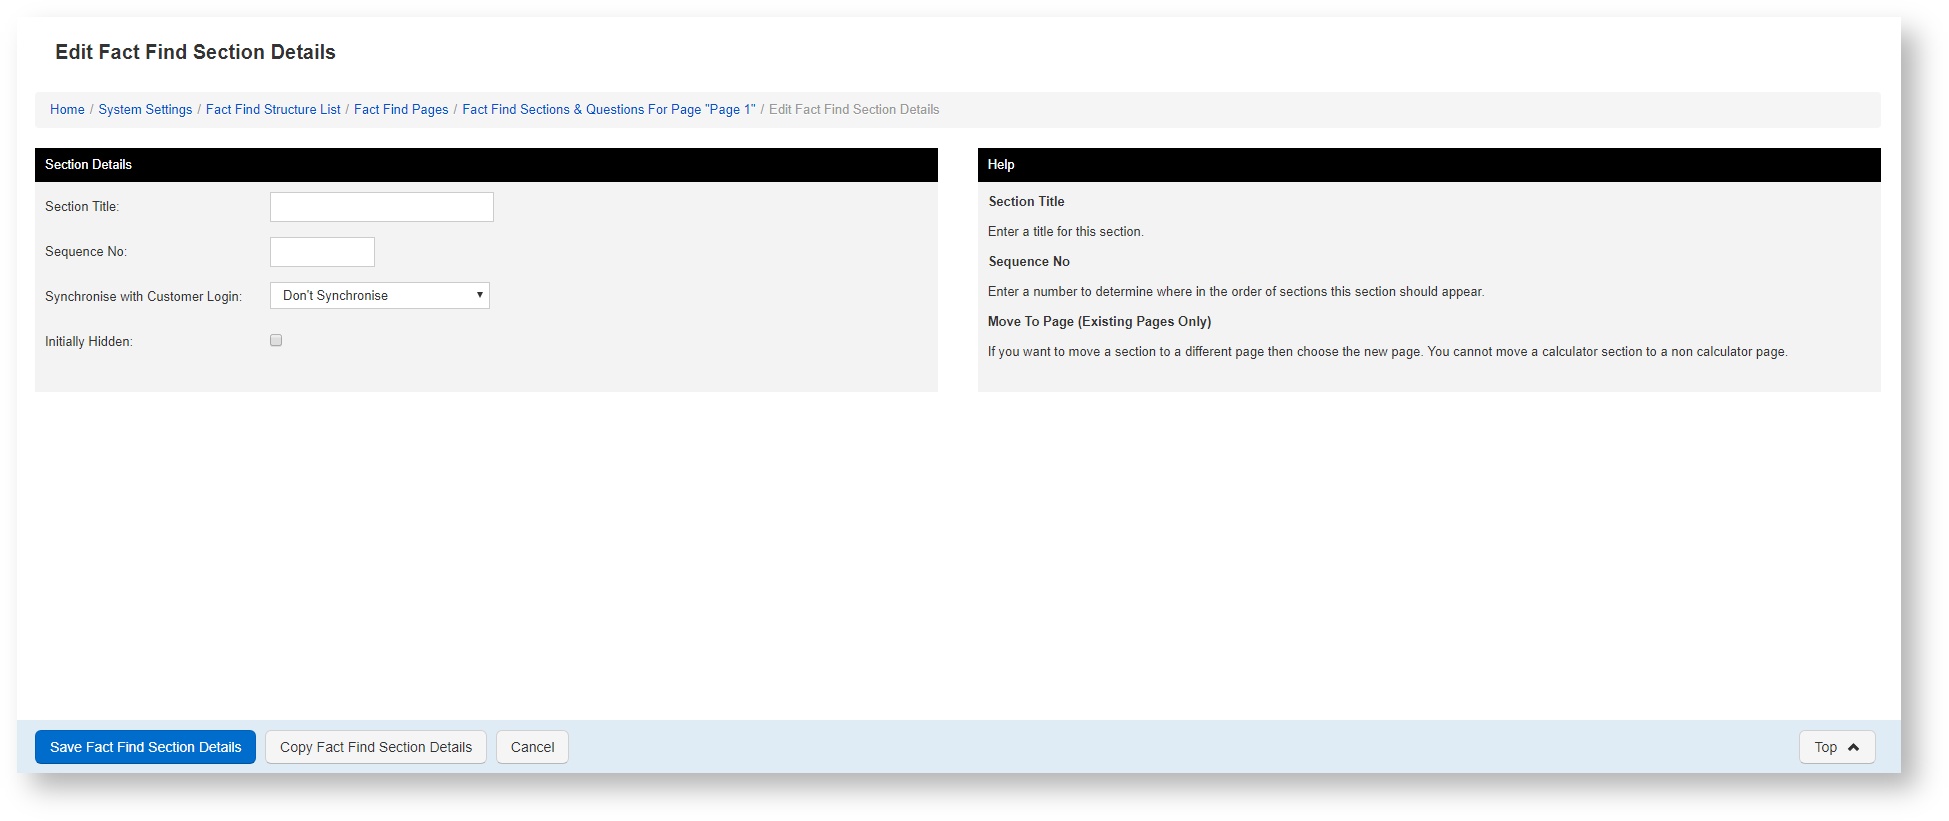
The section creation page (right) has a number of options. You can find out more information about these options below.
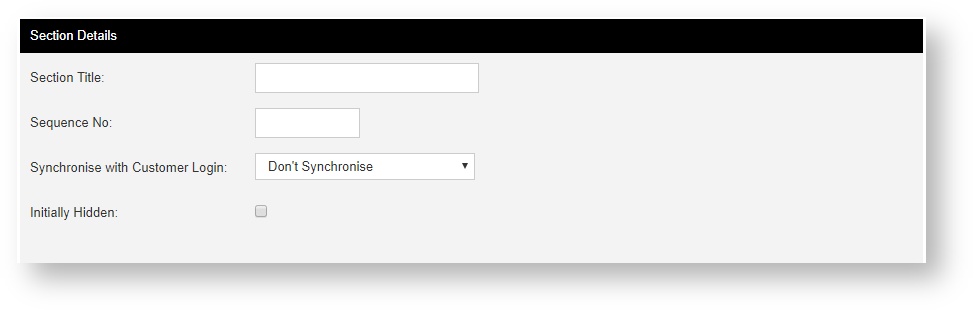
- Section Title - This is the title of the section and will appear above the section when you are accessing the fact-find from a product.
- Sequence No - This determines the order in which this section appears on your fact-find page, relative to the other sections you add to this page.
- Synchronise with Customer Login - If you have the portal system available on your package*, then you can choose here to synchronise this section with the customer portal. If enabled then your customers will see this page when they login to their portal profile. (*Additional Purchase Necessary)
- Initially Hidden - If enabled this section will be hidden when you visit the fact-find page that contains it.
Once you have made your selections press Save Fact Find Section Details

Creating a Question
Now that you have created your first section for your page, you can begin to add questions to it. Remember that questions are nested inside sections in a similar way to sections within pages.
To add a question to your section first find the relevant section and then click the Add Question to ". . . . . . . ." Section link.
Note that the dots in the highlighted text above will be replaced by the name of the section you are adding your question to.
For example if your section is called "Applicant 1 details" then the link will read Add Question to "Applicant 1 details" Section
This screen has a number of options, decide on which type of question you wish to create to continue.
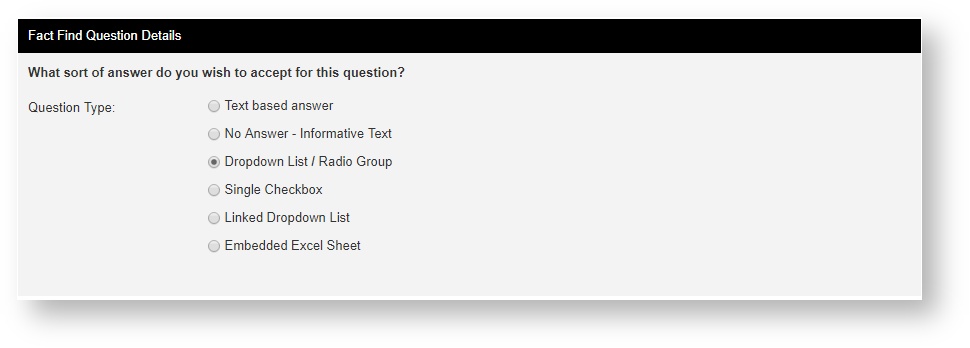
- Text Based answer - The question will just appear as a box into which you can type any text (or figures for calculator sections)
- No Answer - Informative Text - The question will appear purely as text giving information to the user. The user will not be able to enter any value against this question. It can be used to supply additional information or prompts to the user.
- Dropdown list/Radio Group - The question will appear as either a drop-down list of choices that the user can select or as a group of radio buttons
- Single Checkbox - question will appear as a checkbox which can be ticked.
- Linked Dropdown list - The question will be linked to an existing question either from within the Mortgage Application, a Category or an existing Fact Find question. The question type will be populated from the linked question and it's answer will be duplicated from the original.
- Embedded Excel Sheet -
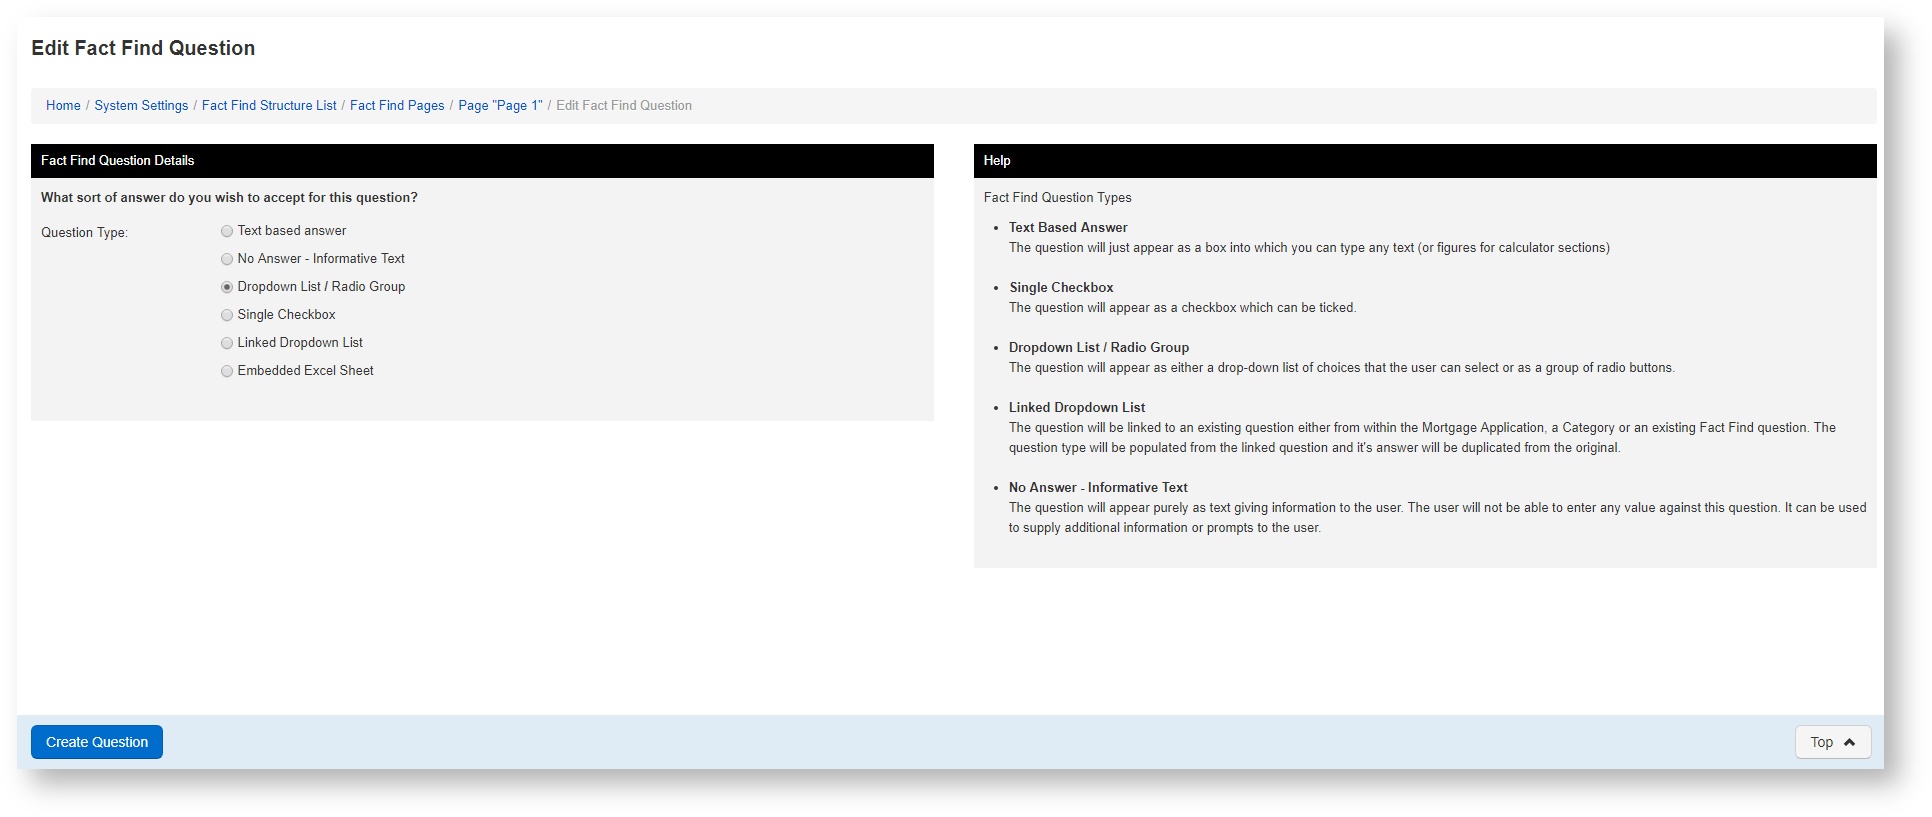
Once you have made your select click Create Question to continue
Types of question
Below are a list of links to describe the options available when selecting different types of questions to create
Question Details panel
If you have chose to create a text based question you will see the options below, which are described in further detail further down.
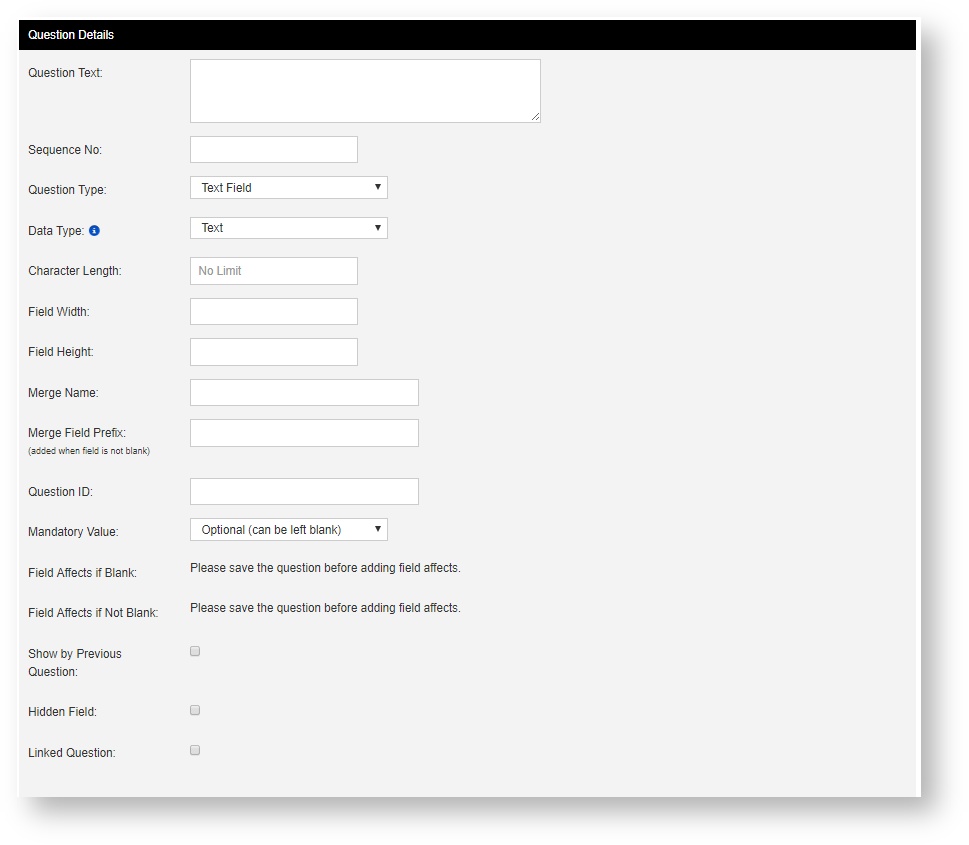
- Question Text - This is the Question that is being asked of the person filling out the question for example "Number of Dependants"
- Sequence No - Enter a number here to determine where this question will appear within the section you are editing.
- Question Type - Two options are available here
- Text Field - This is a standard size field perfect for small answers e.g. post codes, phone numbers etc.
- Text Area - This is a large field, perfect for address entries, or long notes.
- Data Type - There are three options available:
- Text - This is for free text entry into this field
- Number - Restricts the data entry in this field to numbers only
- Date - Restricts the data entry in this field to Dates only
- Character limit - This restricts data entry into this field to the number you enter into this field (including spaces)
Below is a description of the options available when creating a 'No Answer - Informative text' based question. This type of question is useful to help you explain something to the user of the fact-find. E.g. A particular piece of information you are looking for in an answer to a question or a disclaimer.
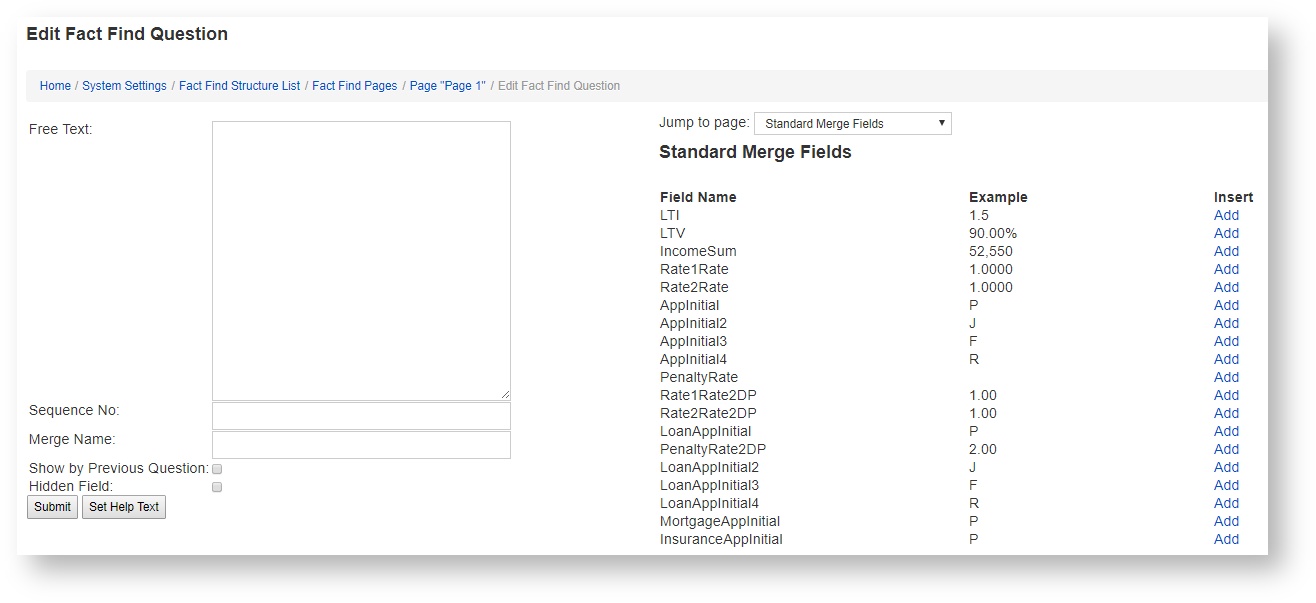
No Answer Informative Text options
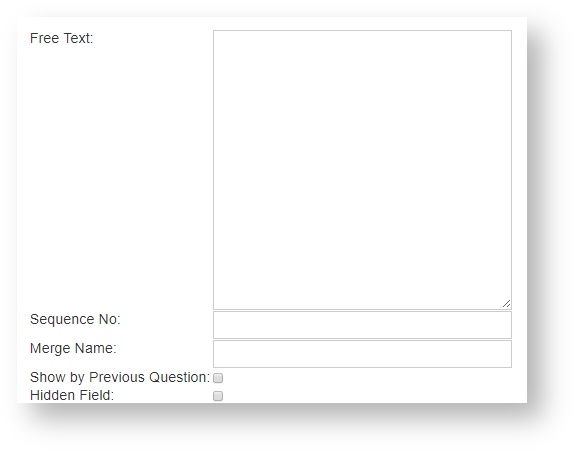
- Free Text - Enter the text you wish to appear in your no-answer informative text question
- Section No - This determines where this question will appear within your section
- Merge Name - Place a unique placeholder in this box so that you can use it in a letter or email template later on. If you place the placeholder in a template, then the placeholder will be replaced with the content of this question when you produce the template from within a product.
- Show by Previous Question - Check this if you wish this question to appear to the right of the question that preceeds it.
- Hidden Field - check this if you wish for this field to be hidden when loading the fact-find page that contains it.
Merge Field selection
The Merge fields panel allow you to add information from your cases and products into your question for example you may want the valuation amount to appear or the name of the applicants involved.
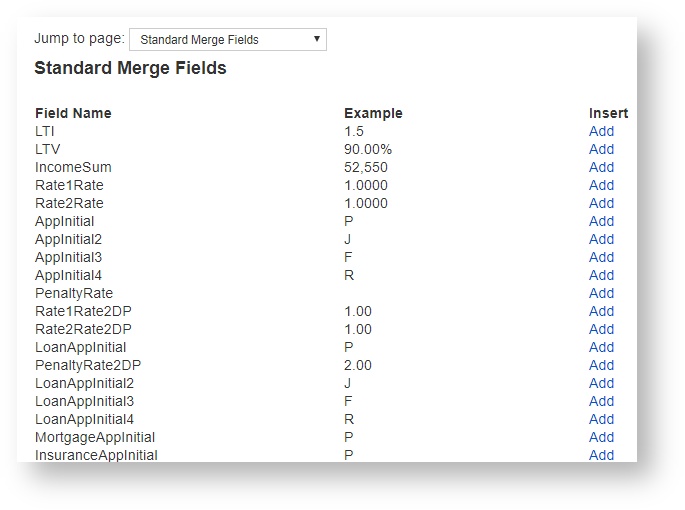
- Jump to page - Use this to select the area you wish to pull information from. The list will then dynamically update with merge fields from that area. To select a piece of information click add. This will paste the merge field into the Free text box on the left of the page. When viewing the fact-find from a product the merge field will be replaced with information relevant to the product or case you are view the fact-find from.
- Add - Adds the desired merge field placeholder into the free text field to the left of the page.
There are a number of options on this page, which are described in detail further down below.
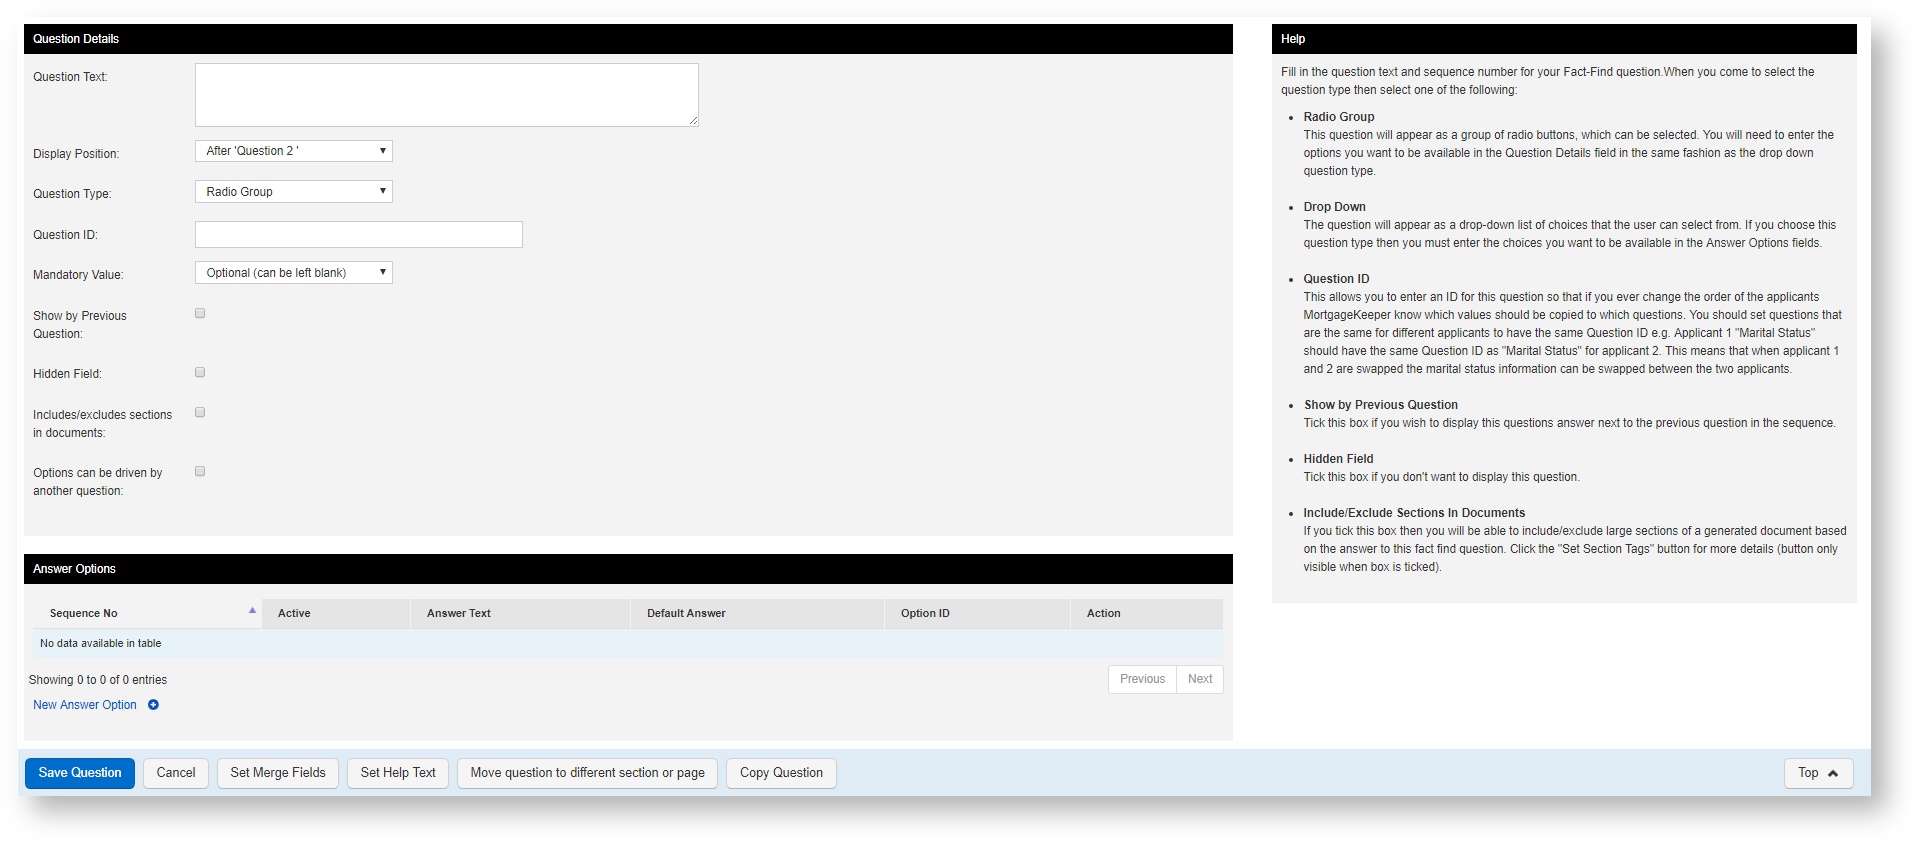
Question Details Panel
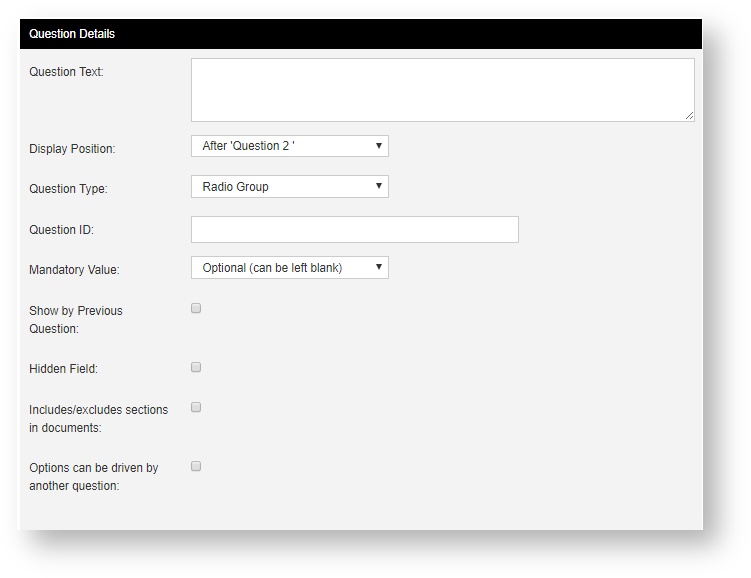
- Question Text - This is the name of the question you are creating and is displayed when navigating through the fact-find. e.g. Please select the number of dependants you have
- Position - This determines where this question will appear amongst the other questions in this section
- Question type - there are two options here:
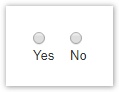
- Radio Group - Question options will look like this:
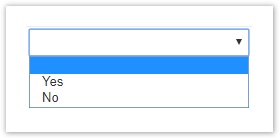
- Drop down - Question options will look like this:
- Radio Group - Question options will look like this:
- Question ID - This allows you to enter an ID for this question so that if you ever change the order of the applicants MortgageKeeper know which values should be copied to which questions. You should set questions that are the same for different applicants to have the same Question ID e.g. Applicant 1 "Marital Status" should have the same Question ID as "Marital Status" for applicant 2. This means that when applicant 1 and 2 are swapped the marital status information can be swapped between the two applicants.
What are section tags?
Section tags are identifiers that you can use to wrap around text within your documents for example if your question has yes or no options as it's available answers and you setup two section tags <<quesitonYes>> and <<questionNo>>. Then if you choose No for this question then "Example text 2" will appear in your document when producing it against a case.
<<questionYes>>
Example text 1
<</questionYes>>


<<questionNo>>
Example text 2
<</questionNo>>
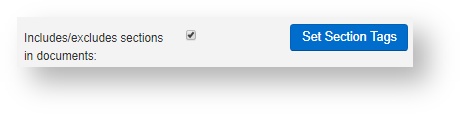
To setup a section tag, check the box and then click the Set Section Tags button that appears (see below)
On the page that appears simply set your section tags against each option (see below).
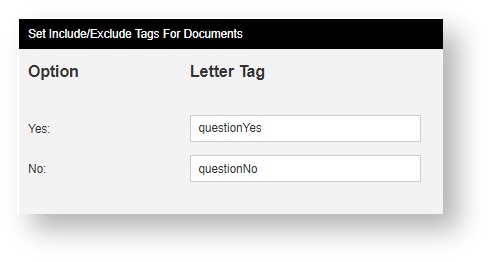
Try to make your section tags unique and identifiable for example a question about dependants might have options such as 0,1,2,3 etc. in this scenario you may choose section tags such as dependents0, dependants1FF, dependents2FF, dependents3FF etc.
Remember not to include spaces in your section tags.
Once you have finished making your selections simply click the submit button at the bottom of the page

Answer Options Panel

Sequencenumber - determines the order in which the options appear
- Active - determines whether the relevant option appears going forward (does not affect answers to existing fact-find answers on your existing products)
- Answer Text - This is the name of the option you create for your drop down for example yes, no, maybe etc.
- Default Answer - here you can set if the relevant option is the answer that your question defaults to.
- Option ID - this is the unique identifier for your option and is used when swapping answers if you change the ordering of your applicants.
- Action - There are two options available here
- Remove - click this if you wish to remove this option from your dropdown or radio group question (please not that once this has been removed it cannot be restored)
Field affects - Here you can set what happens to your fact-find if a user selects this option as the answer to this question.
- New Answer Option - this adds another row so that you can add a new option to the list
The rest of this guide is still under construction