Introduction
This guide will take you through the process of mapping documents added to the Burrow system, into your bespoke eKeeper CRM attached files area.
Location
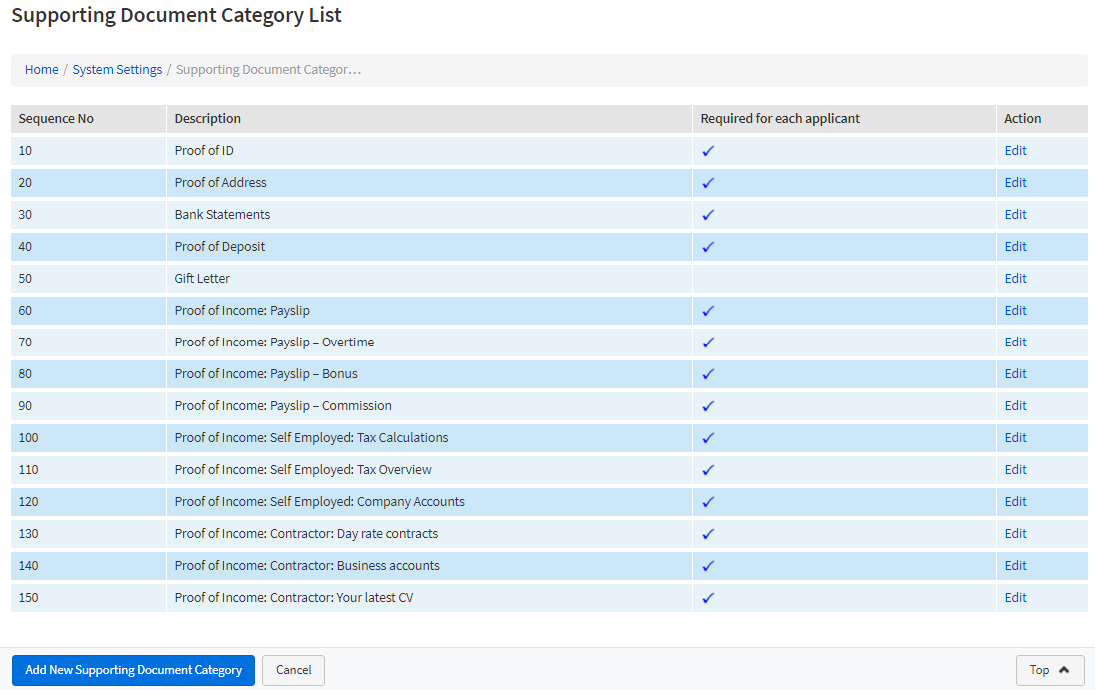
Navigate to the following screen:
Home / System Settings / Supporting Document Categories
Choose the file category you wish to map with the uploaded Burrow document.
How to map a category
Example: Name ID
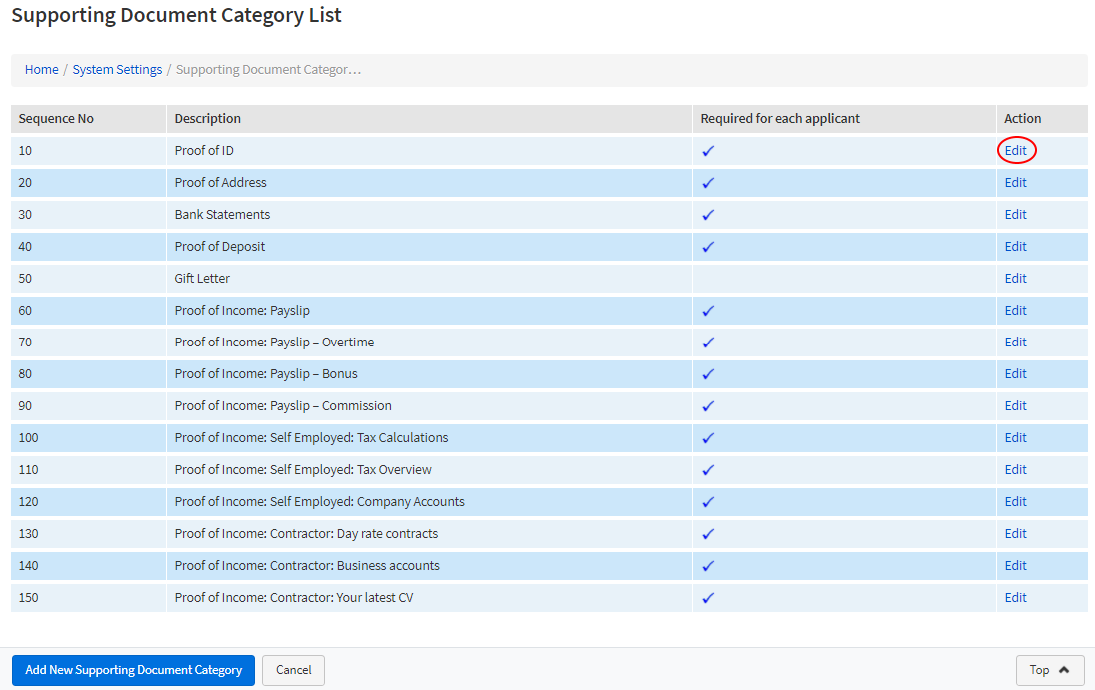
To map Name ID, find the appropriate category in the list, for this example click-on the EDIT link against the row with the description “Proof of ID”.
Select the correct mapping option
Next we find the option ‘Burrow Mapping’ within the document details panel.
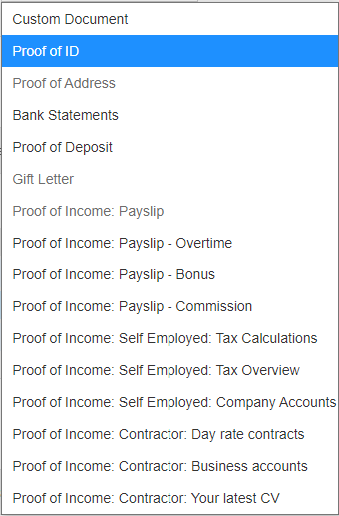
The next step requires you to choose the most appropriate option against the Burrow mapping list.
In this example, we are going to select the option ‘Proof of ID’
NOTE:
The listed burrow options are static and cannot be changed.
Therefore, you may wish to add new options in your EKeeper CRM.
NOTE:
If the drop-down option is greyed-out, then this has already been mapped.


