Introduction
This page will help you create new participants through the address book.
User Permissions
The specific user permission needs to be enabled to allow users to list participants.
Home > System Settings > User Permission Groups & Set Permissions > Click participants on the user group you wish to update

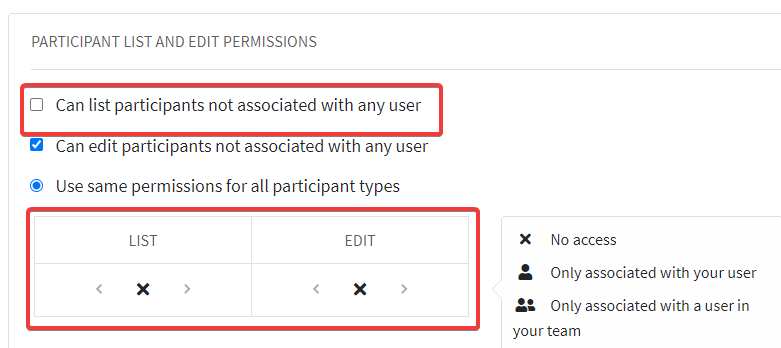
You will need to tick the box next to ‘Can list participants’The box marked in red you will need to go through the arrows till you see the three people icon on both sections ‘List’ ‘Edit’
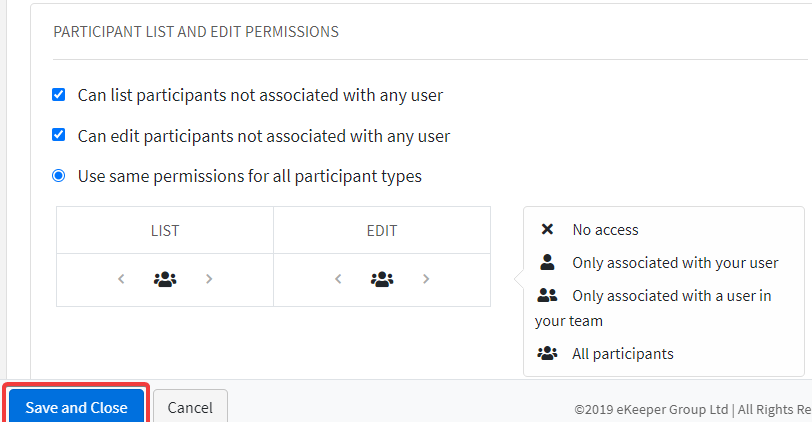
Change both the ‘List’ and ‘Edit’ to the ‘Only associated with a user in your team’ setting, using the arrows to navigate through the available settings
Once the box looks like the following, click ‘Save and Close’
How to find the system setting
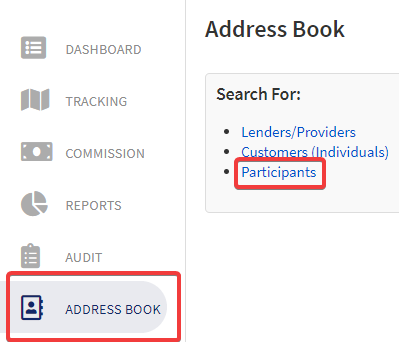
Navigate to the Participants
Home > Address book > Participants
How to setup the participant
Proceed to the participants section. When you reach this page, at the bottom of the screen you will see a 'New Participant'. Use this to add a new participant.

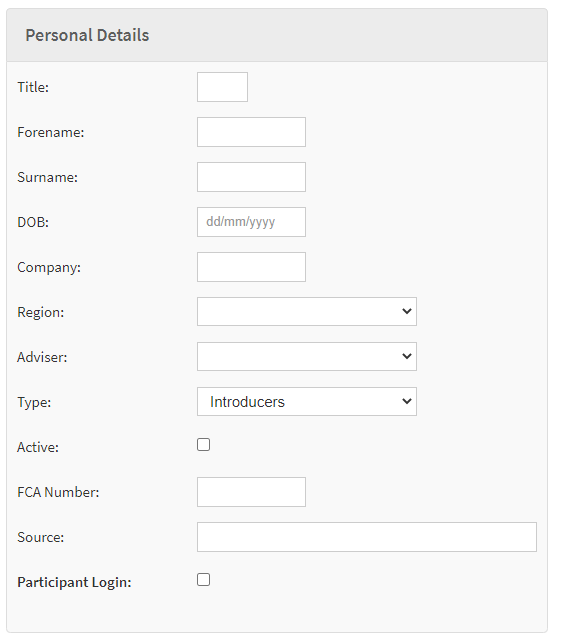
Once you get to this page there are several sections you will need to complete for the participant.
Such as:
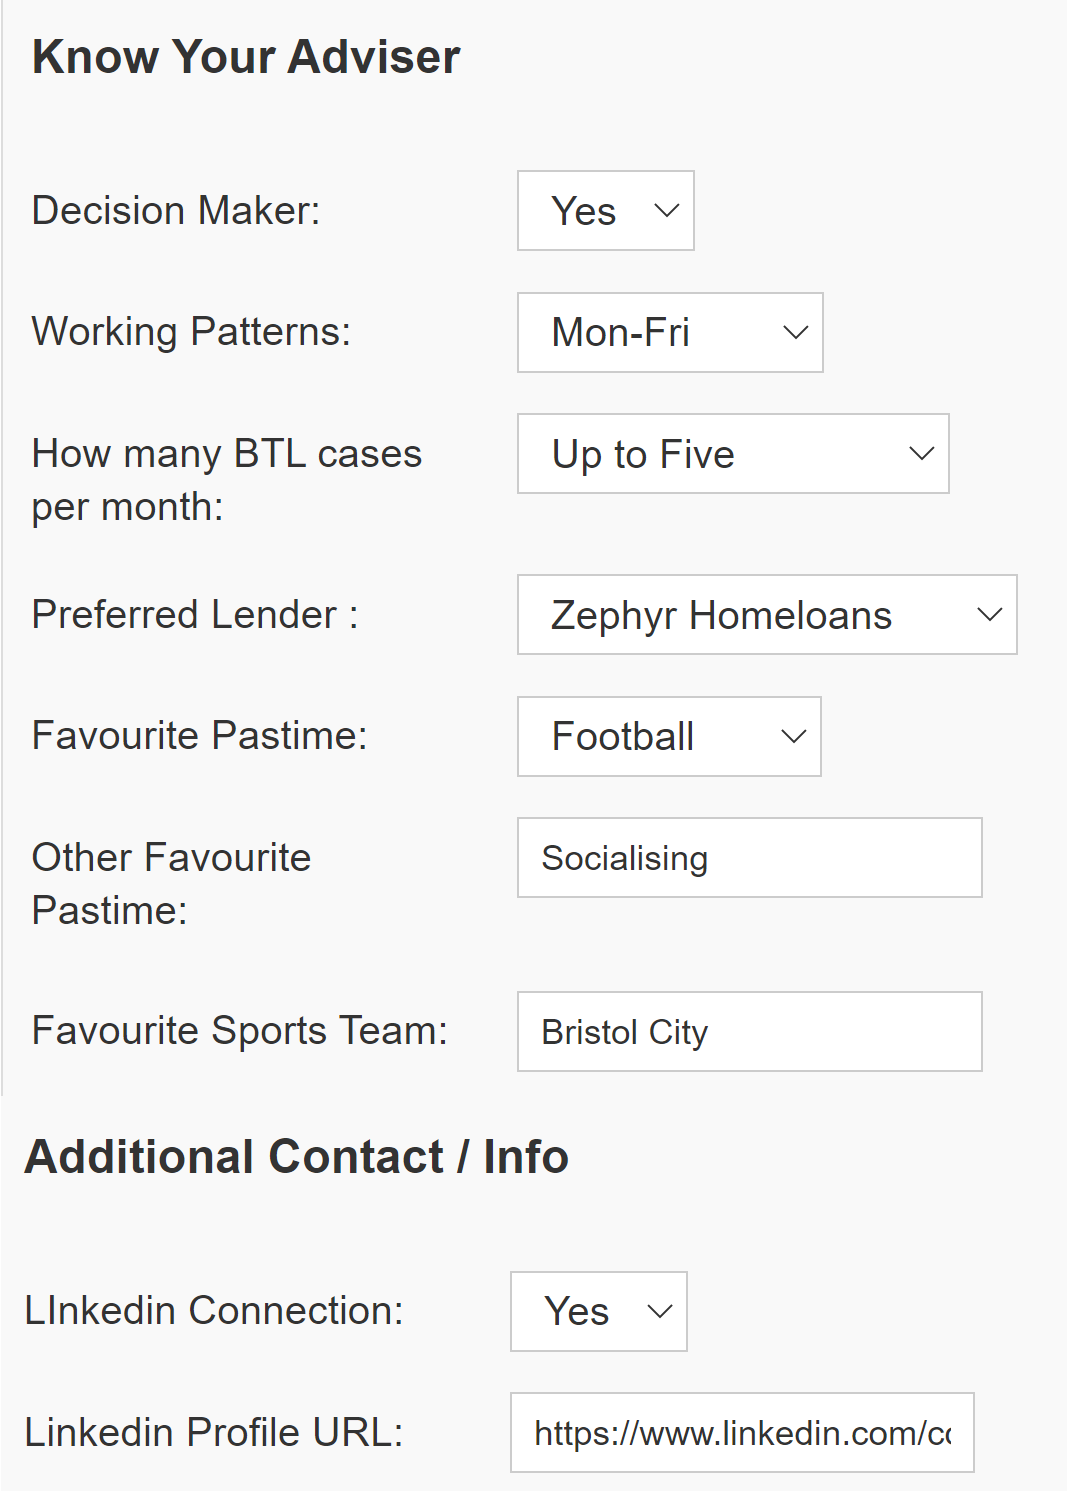
Personal Details
See the guide View Profile on how to change the available fields a user would see.
Custom Fields
See the guide Participant Custom Fields on how to add new fields.
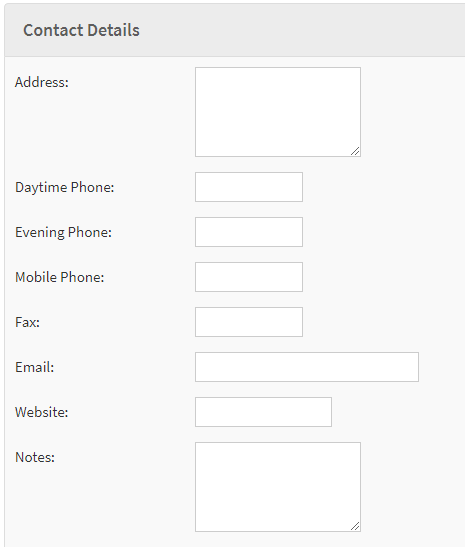
Contact Details
See the guide View Profile on how to change the available fields a user would see.
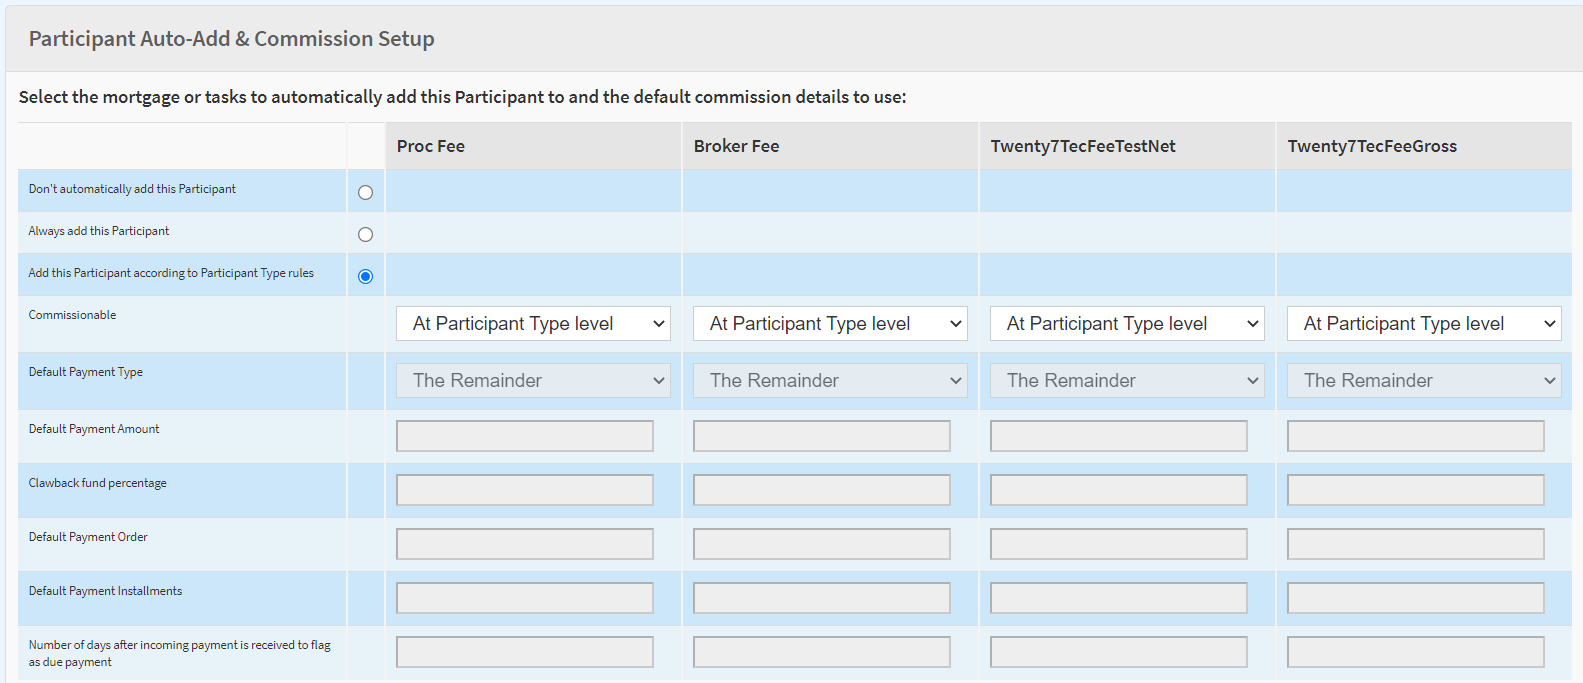
Participant Auto-Add & Commission Setup.
See the guide Participant and outgoing commission payments for guidance on how to set up the commission profile for your participant.
Once these sections are all completed, you can either click ‘Save Participant and Close’ or ‘Save Participant’ button.
Now the participant is available in the address book.
