
Contents
Finding search views - Product search criteria page
Click to your reports button (figure 1), which appears on the homepage (right)

Figure 1 - Reports button
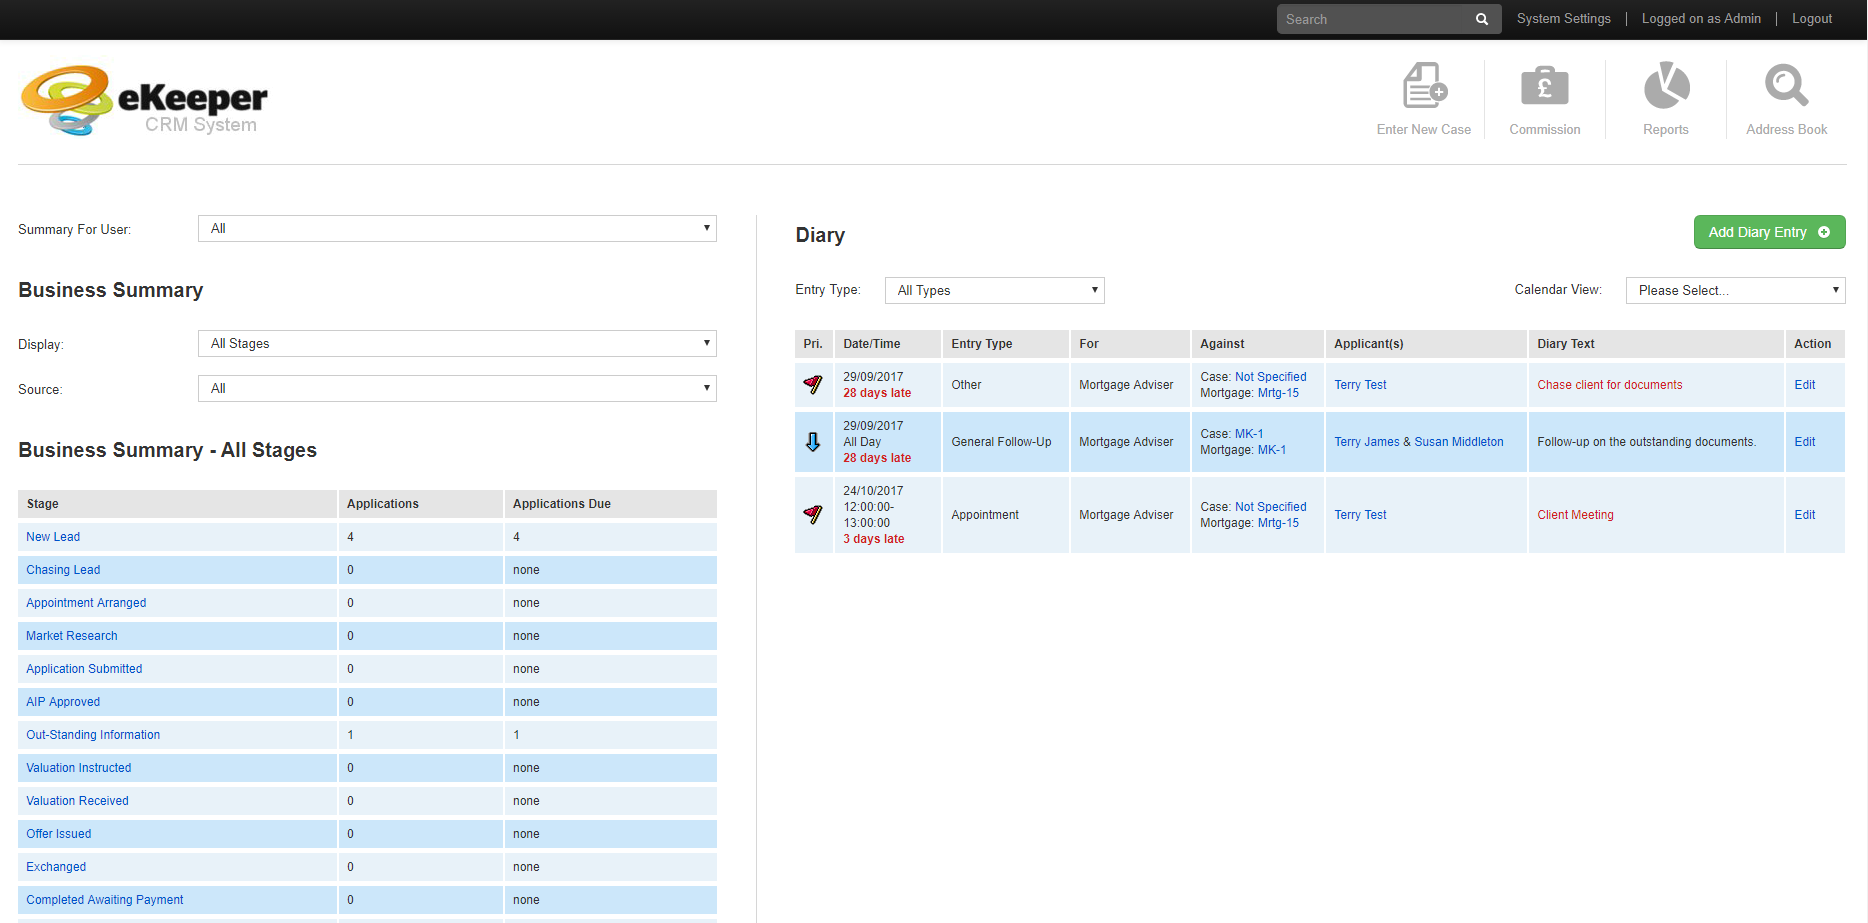
Homepage
You will now see the reports dashboard (figure 2).
 Figure 2 - Search selection page
To find your search views select a search button for the product you are searching against (figure 3) e.g. New Mortgage Desk Search.

Figure 3 - Search selection buttons (products highlighted)
Remember
You will now see a product search homepage (right)
This page will enable you to select the criteria your require for your search.
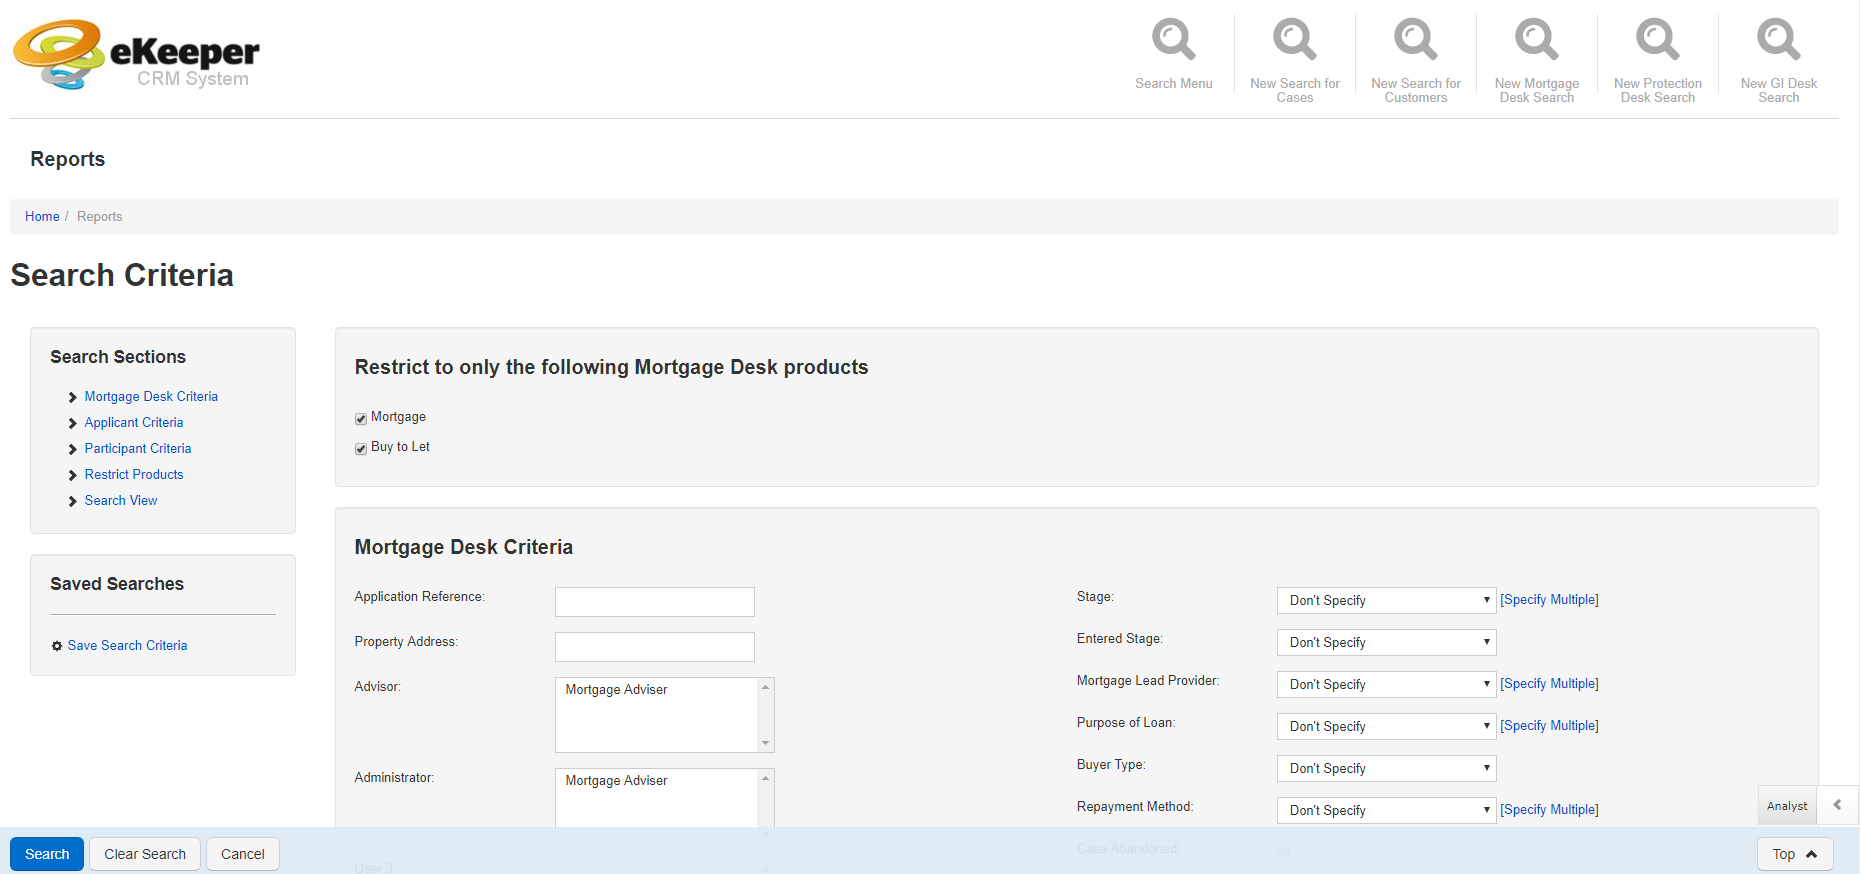
Product search homepage example
Tip
If you would like to search more about the criteria available to your please see our Reporting and exporting article.
Your search views appear at the bottom of the criteria selection page for your chosen product, in a section titled How would you like to display the results (figure 4), simple select the desire search view using the radio buttons supplied.

Figure 4 - Search view selection (how would you like to display the results)
Note
Search views do not determine which cases and products display in your results, they determine what information is displayed against the cases and products in your search results.
Once you have set your search view and selected your filter criteria, click the search button in the bottom navigation bar
![]()
Figure 5 - Navigation bar (bottom)
You will now see a list of results displaying the relevant data for the search view you have selected.
Finding search views - Product search criteria page
Once you have performed a search you will see a list of results (Right). The results will be display according to the search view that is currently selected.
To change the search view from here you need look to the top right corner of the page, which shows the Search View selector box (figure 6)
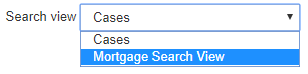
Figure 6 - Current View Selector
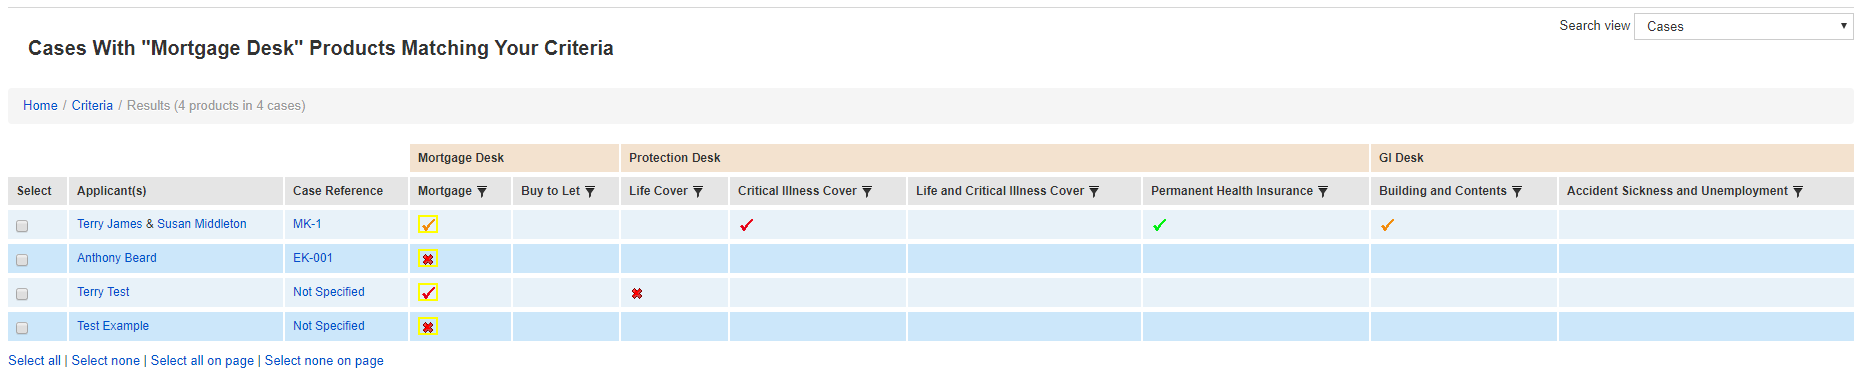
Search Results Example
Change the search view for a particular stage
Search views can also be applied to a particular stage so that when you click on the name of a stage on the homepage (figure 7), the resulting list of products will display the information you need at that stage.
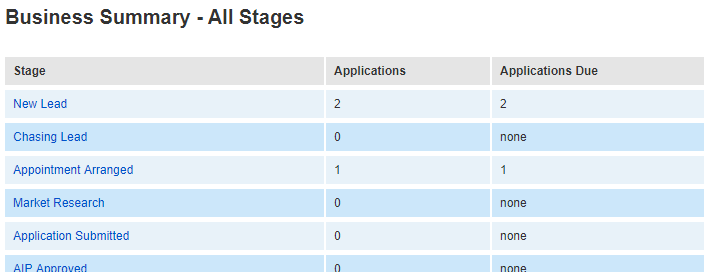
Figure 7 - Stage list panel (homepage)
Find the system settings menu located in the top navigation bar (figure 8)

Figure 8 - Navigation Bar (top)
Next look for the Product Setup section (figure 9) to the left of the system settings menu and click the products link.
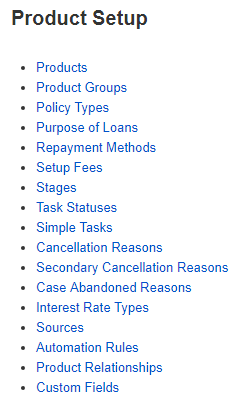
Figure 9 - Product setup section (system settings)
Next on the Product Setup page (right), against the desired product where you wish to change the search view for a particular stage, click the stages button (figure 10)
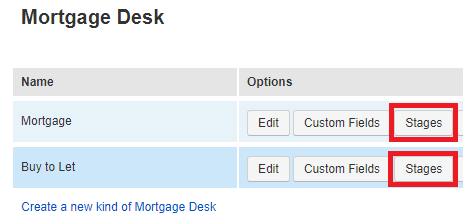
Figure 10 - Mortgage Desk product (stages buttons highlighted)

Product Setup page example
You will now see the list of stages that are applicable to the product you selected (right).
To change the search view associated with a particular stage click the change link under the Column Selection in listing column (figure 11)
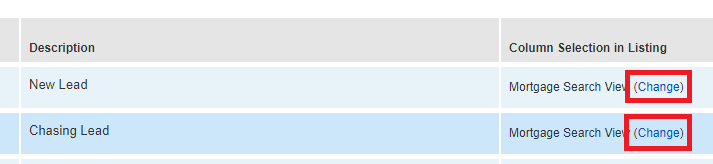
Figure 11 - Applicable stages for product page (Change search view highlighted)
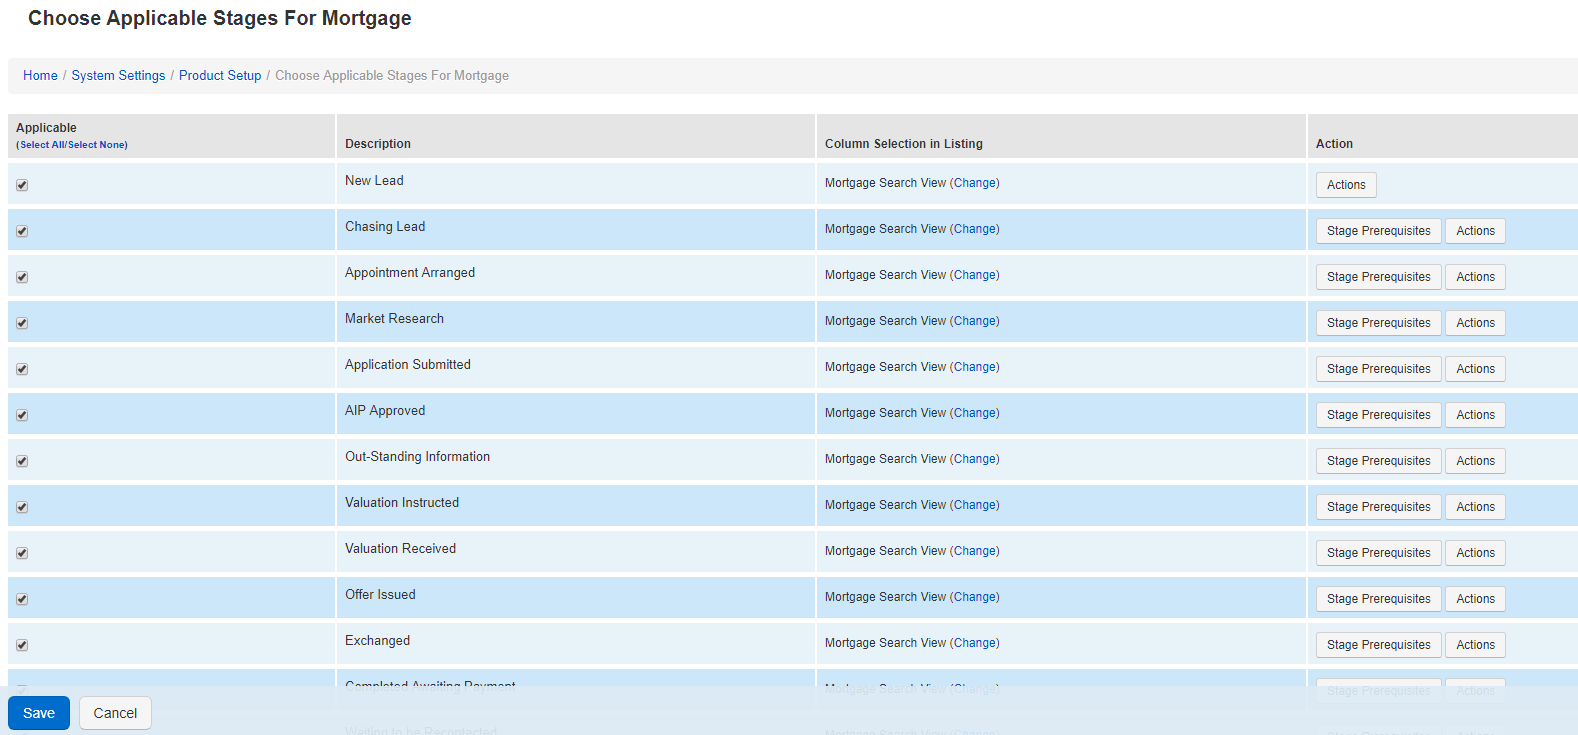 Applicable Stages for [selected] product page
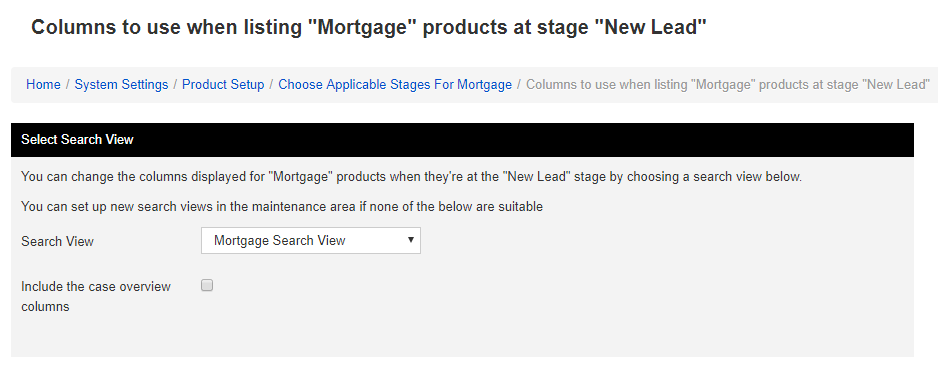
You will now see the associated search view selection page (right).
To change the search view that is associated with this stage, simply change the Search View drop down box to the desired search view.

Figure 12 - Search view drop down selection
If you would like to include the overview columns in your list of cases then select the Include the case overview columns checkbox
![]()
Figure 13 - Include the case overview columns
 Associated search view selection page
once you have finished click the Save column listing button in the bottom navigation bar (figure 14)
![]()
Figure 14 - Bottom navigation bar