Printing Labels
- Adam Evans
Step 1 - Generate a search
In order to generate some labels we first need to build a search in Senro. The search provides us with a list of customers who fit a particular set of criteria. To create a search follow the below instructions:
- Under Field selection (figure 3), select some appropriate fields that you wish to appear on your labels e.g. Full Address.
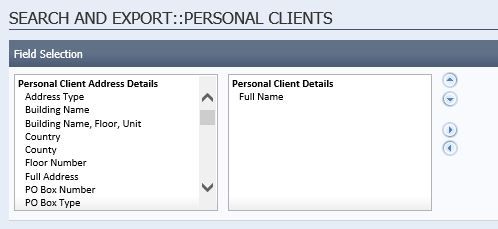
Figure 3 - Field Selection (personal clients search category)- Note: use the left and right arrows to move your selection from the left hand list box to the right hand list box.
- Select an appropriate 'Search category' from the list that appears (figure 2 below)
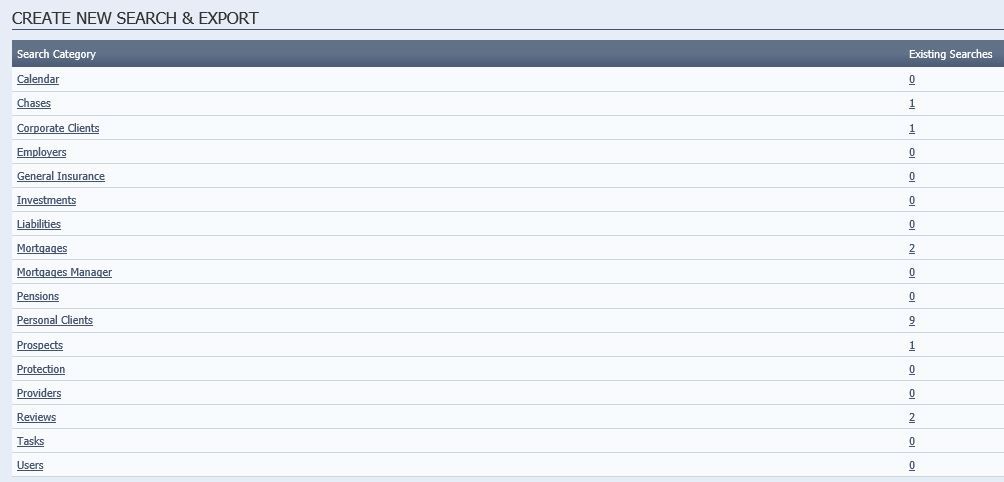
Figure 2 - Search Categories - Hover over 'Marketing' menu in the menu bar and click 'Searches' in the popout menu that appears (figure 1 below)
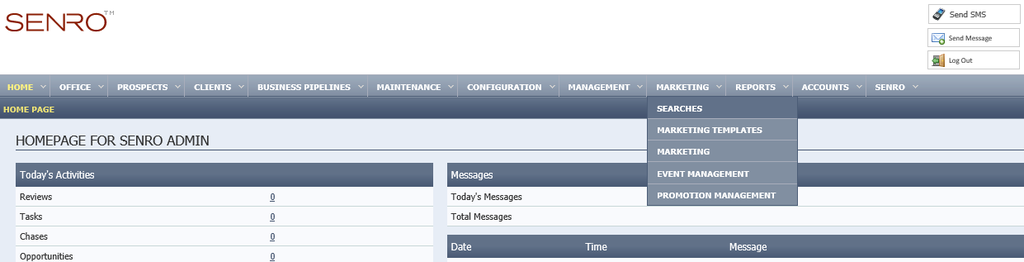
Figure 1 - Senro menu bar - You can add a filter into the filter criteria section if applicable.
- Note: As an example, this could be used to find all clients where the Client adviser is a particular person. (figure 4)

Figure 4 - Filter Criteria
- Note: As an example, this could be used to find all clients where the Client adviser is a particular person. (figure 4)
- Leave the View options as the default and click 'Generate' (figure 5)
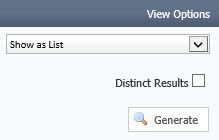
Figure 5 - View options/Generate - In the top right under 'Save search' type an appropriate name for your search and click the 'save' button
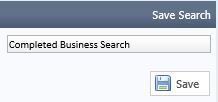
Figure 6 - Save Search
You have now created a new search, that we will use in the later steps below to generate our labels with.
Step 2 - Generating a Marketing template
From the menu bar click on Marketing, then hover over 'Marketing Templates' and click 'New Template' (figure 6)

Figure 6 - Navigation bar - Marketing Templates
In the Templates options panel
- Name: type an appropriate name for your template,
- Category: Select a matching category to the search you generated in step 1
- Template Status:set this to active
- Template Format: leave this set to 'Print'

Figure 7 - New Marketing Template
Now click 'Create template'.
On the page that appears (figure 8), click 'Save & Exit'
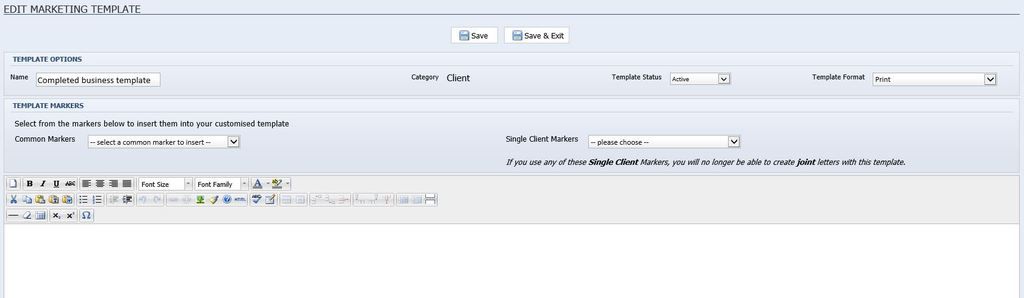
Figure 8 - Edit Marketing Template
You have now created a marketing template, we will use this along with our search to generate a marketing campaign in the next step.
Step 3 - Generating a new campaign
From the menu bar, click hover over 'Marketing' and click 'new campaign' (figure 9)

Figure 9 - Marketing menu - New Campaign
You should now see the Create Campaign Screen (figure 10). From here there are a number of options, we need to fill in the minimum as follows:
- Campaign Name: Fill in an appropriate name for this campaign e.g. Client Christmas Labels
- Campaign Search: Click this link and select the search you created in step 1
- Campaign Format: set this to letter
- Campaign category: Personal
- Campaign Type: Existing Customer campaign
- Single or Joint: Select as appropriate
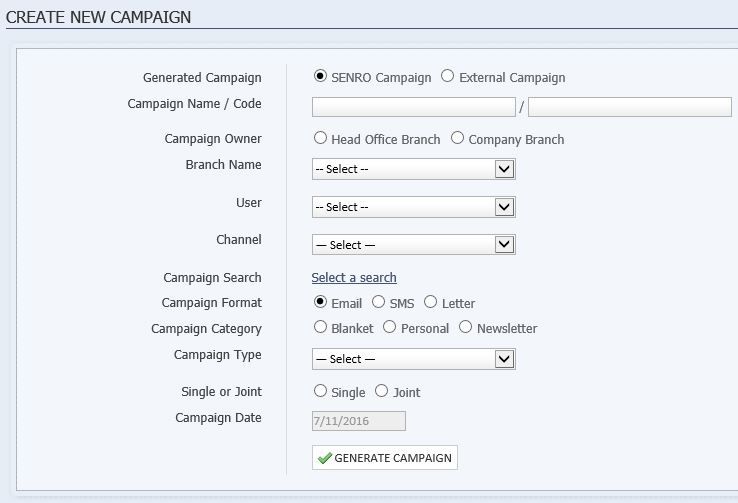
Figure 10 - Create New Campaign
Next click generate campaign, followed by 'Create Campaign' in the bottom right of the screen that follows. You should then see a screen similar to the below (figure 11).

Figure 11 - Campaign Details
Step 4 - Printing Labels
Now that you have created your campaign using your search and template, whilst still on the screen below, click 'Print Labels' under the Printing options section.
Figure 12 - Campaign Details
Follow your printer's instructions to print out your labels.