Creating new Custom Fields
- Adam Evans
Contents
Introduction
This article will explain how you can create new custom fields against your products
Finding the custom fields settings menu
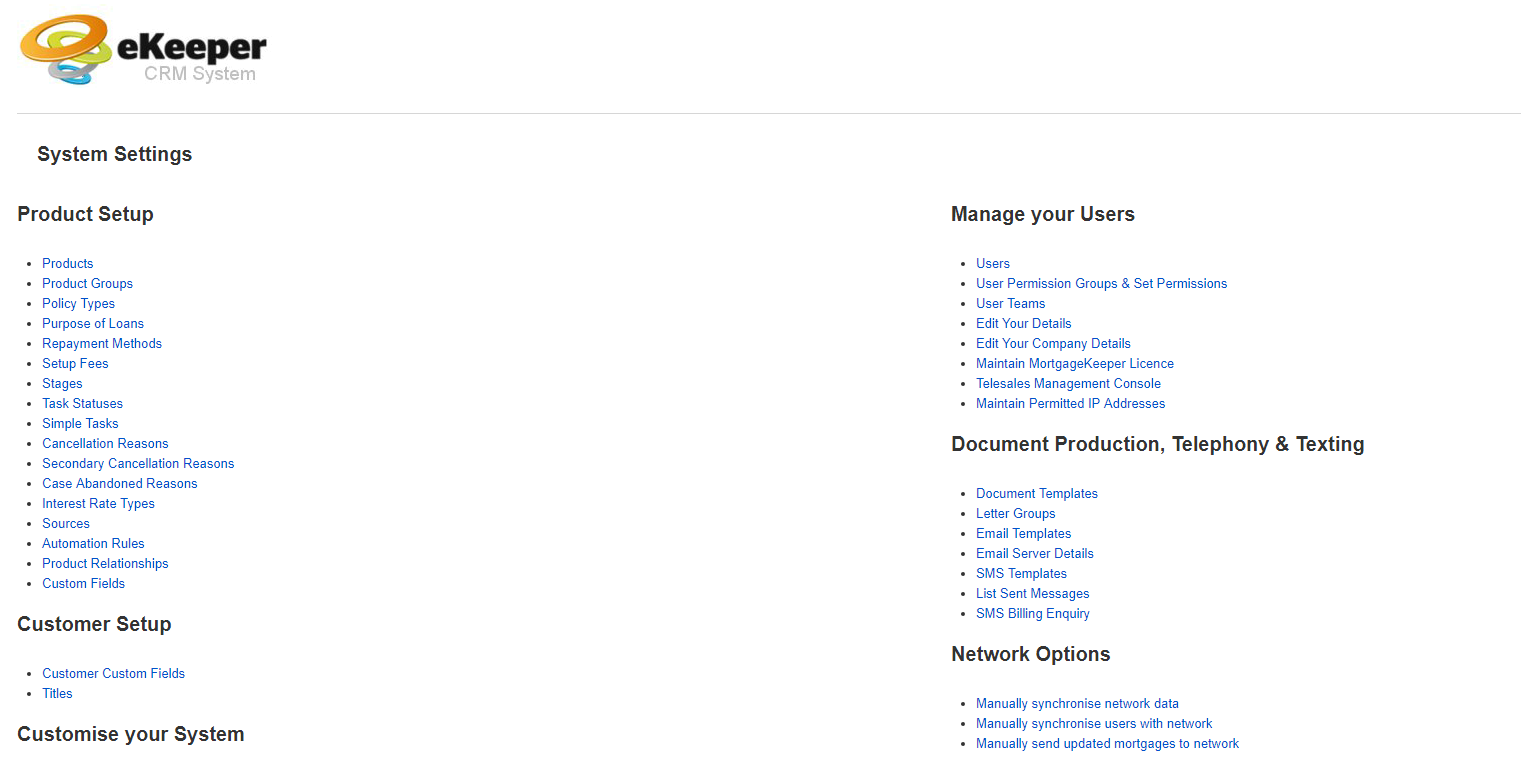
To begin click the System Settings button located in your top navigation bar
![]()
Figure 1 - Top Navigation Bar
You should now see the system settings menu (right), Find the product setup section (figure 2) and click the Custom Fields link.
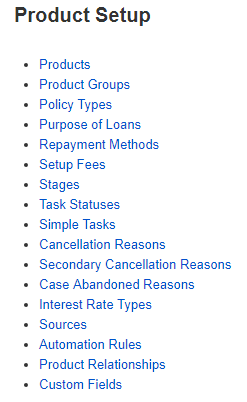
Figure 2 - Product Setup Section
You should now see a list of existing custom fields that already setup in your system (right)
 System Settings Menu
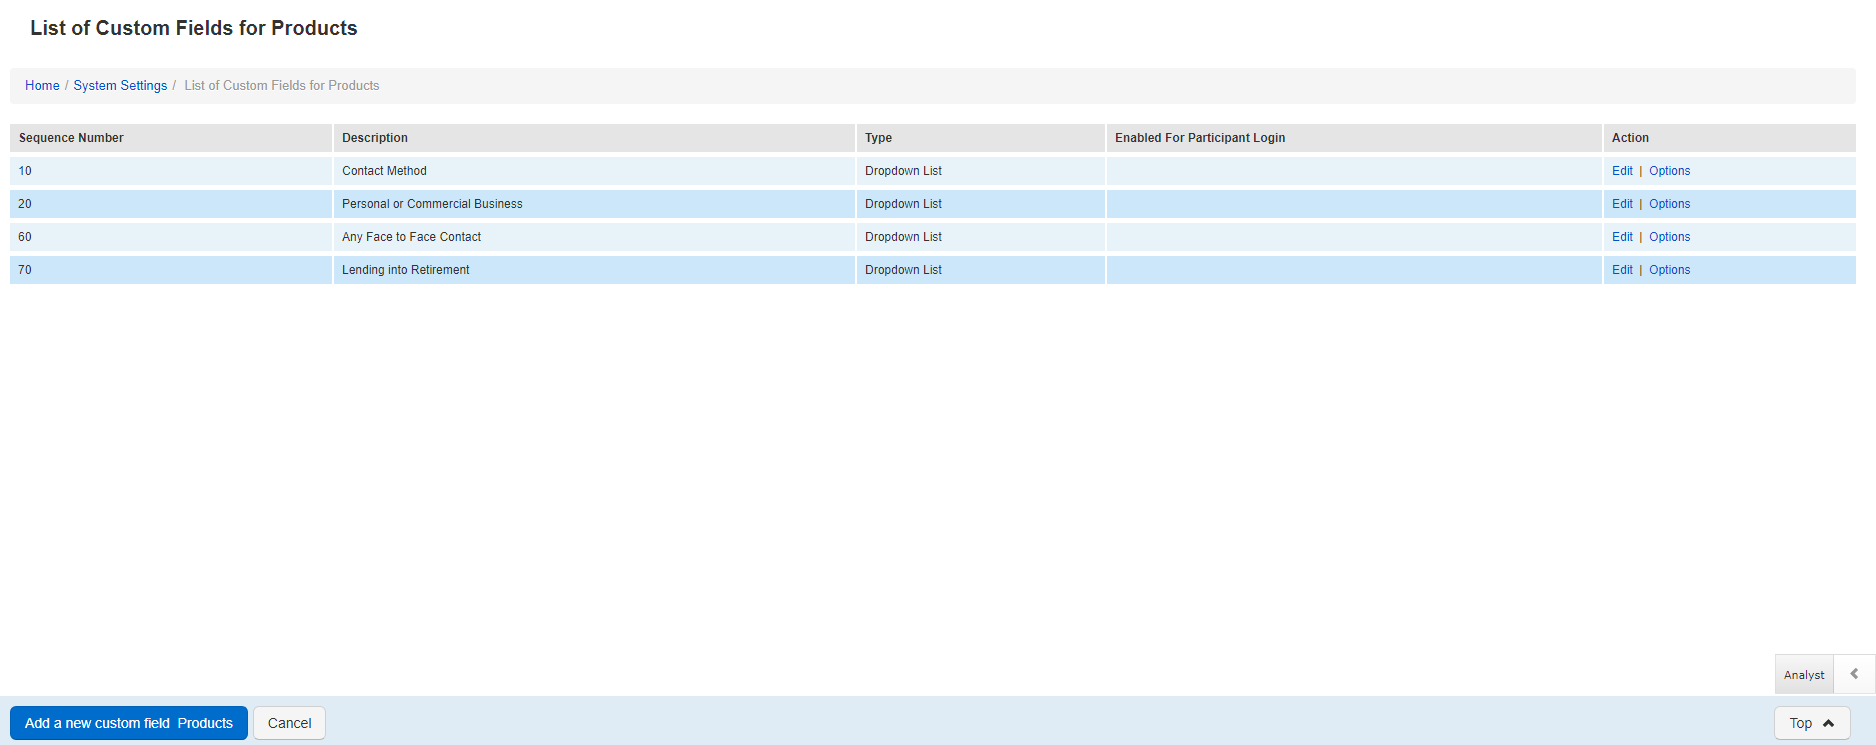 List of existing Custom Fields
Creating a new custom field
To create a new custom field first decide on a sequence number, and then click Add a new custom field Products button
![]()
Figure 3 - Bottom Navigation bar (custom field page)
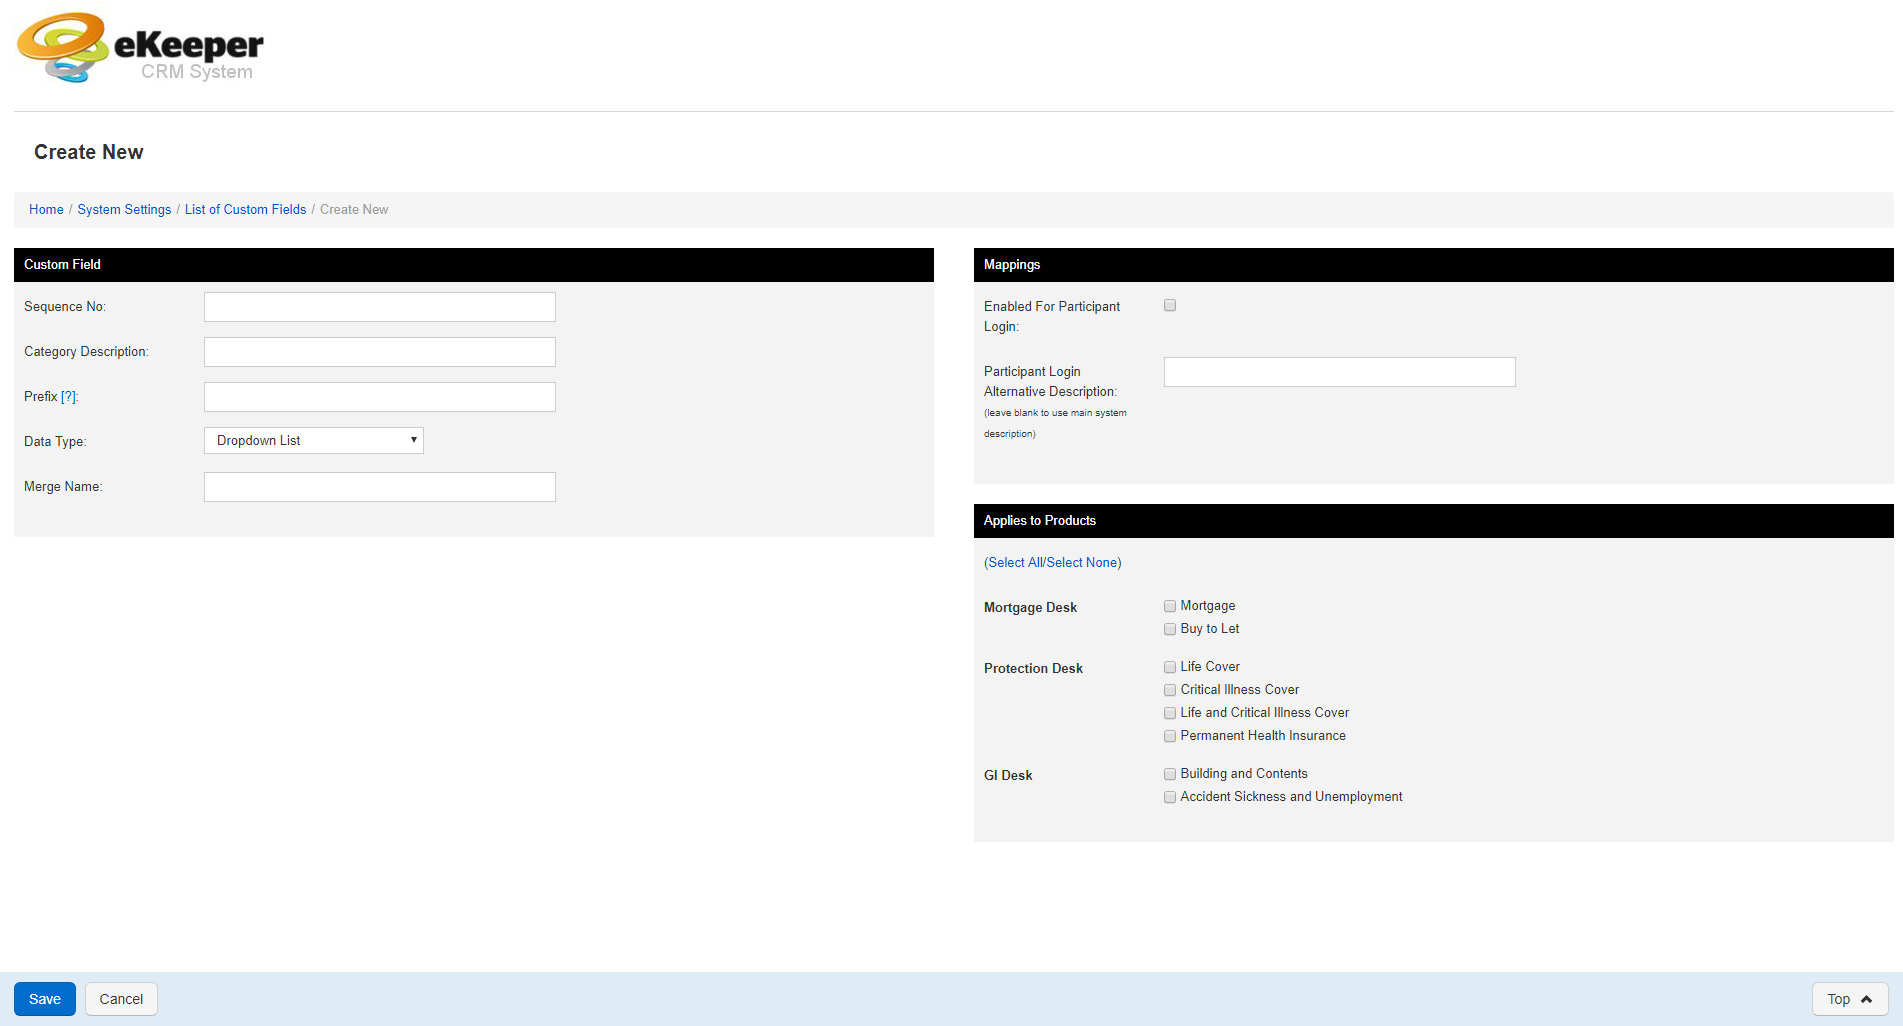
You will now see the custom field creation page (right). There are 3 panels on this page; Custom Field; Mappings; Applies to Products. We will cover each of these in turn.
Below is the custom field panel which allows you to enter the top level details for the custom field you are creating for example, name, merge name.
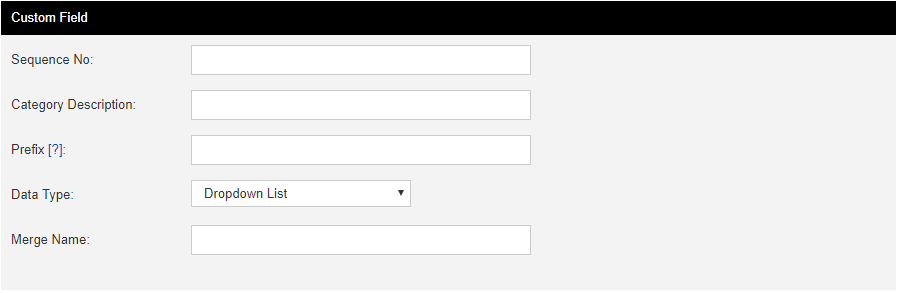
Figure 4 - Custom Field Panel
Set the options below if you want this field to be available to portal users (Additional purchase necessary)
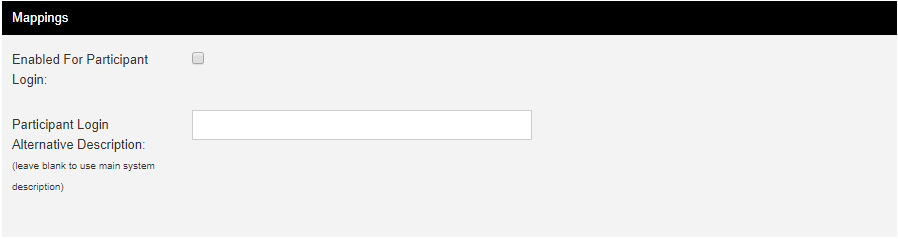
Figure 5 - Mappings
Below is the 'Applies to Products' panel. here you can state which products in your system the new custom field will appear against.
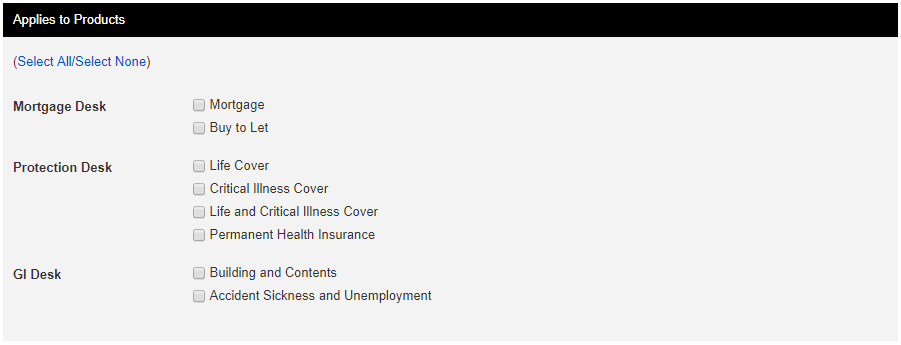
Figure 6 - Applies to Products
Once you have finished setting up your custom field click the Save button, which appears in the bottom navigation bar

Figure 7 - Bottom Navbar (create custom field page)
What is a Sequence Number?
Sequence numbers determine the display ordering of an item in amongst a list of items.
 Create New Custom Field Menu
Adding options to dropdown custom fields
Once you have created your custom field and if you have selected dropdown list as your data type in the previous section. Then you need to add some options for the user to choose from. This section assumes that you have followed the previous section and have now arrived back at the List of Custom Fields for Products section. If you have not you can find this page by heading to System settings > Custom fields.
Now that you have created your dropdown field, it should appear in the list of custom fields (right).
To add options to your dropdown list, first you need to find the field in the list and then click the options link to the right hand side under the actions column(figure 8)
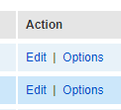
Figure 8 - Actions column
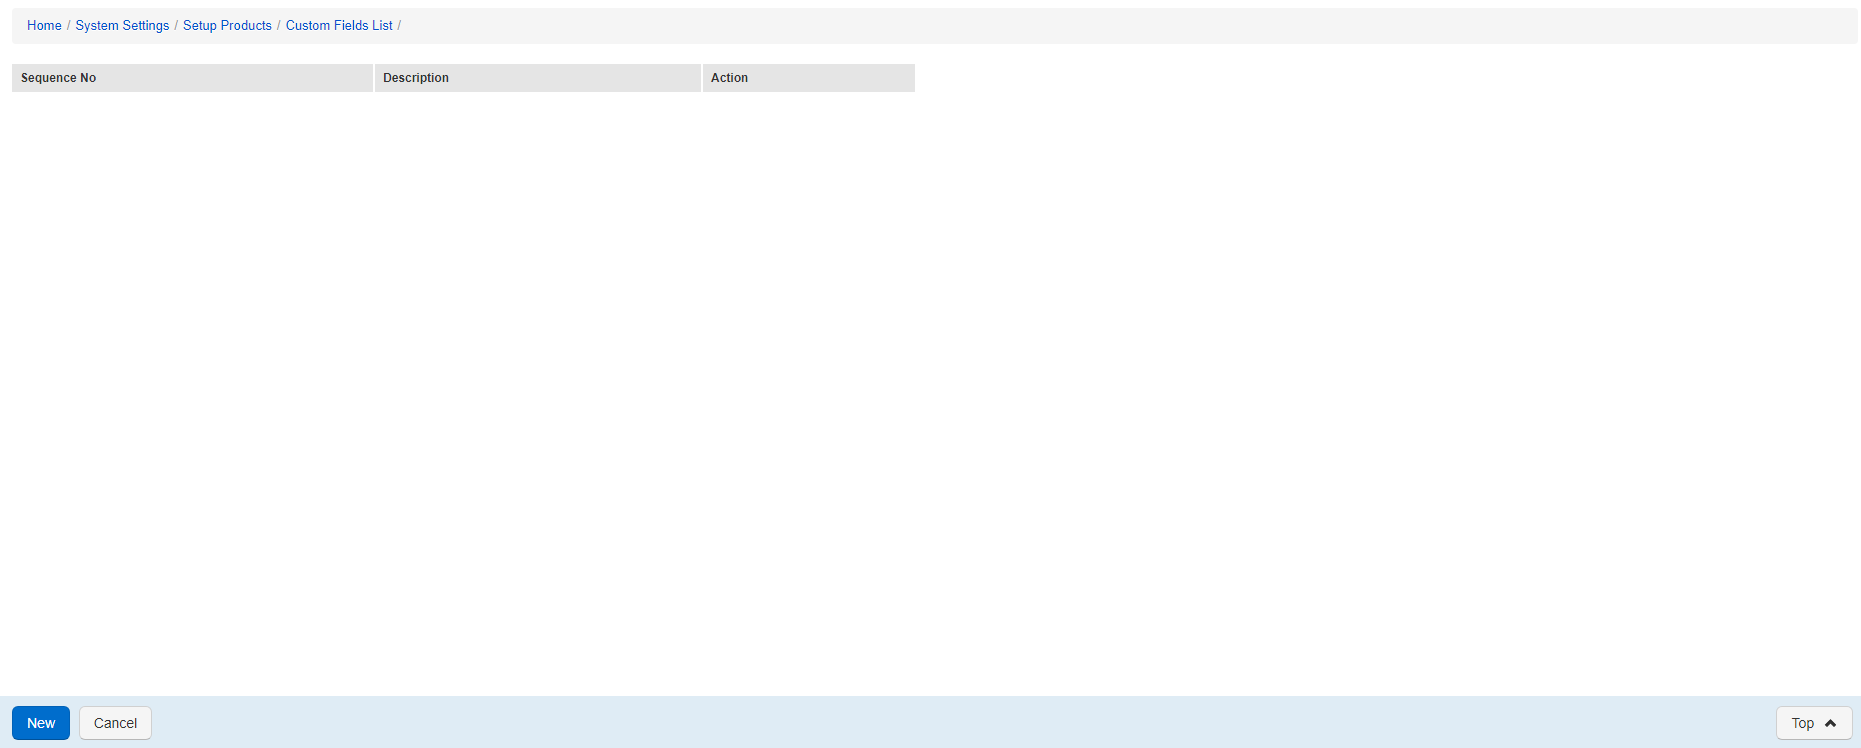
You will now see an empty table. To add your first option click the New link, located in the bottom navigation bar.

Figure 9 - Bottom Navbar (custom fields list)
Next add a sequence number, this determines the order it will appear amongst the other options for this field. Also add a category option description, this is the option that will appear to your user within your dropdown list.
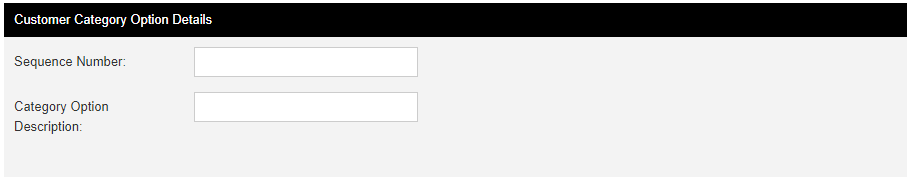
Figure 10 - Custom Category Option Details
Once you have entered your desired information click the
List of existing Custom Fields Menu
 Custom Field (dropdown) options menu