Attaching files to a product
- Adam Evans
- Roly Birkwood
Note
The colour and naming of particular menus in your system appear be different to the screenshots in this article, however the principle will be the same.
During a case's life time there will no doubt be numerous attachments generated as evidence of the case's progression. These can be attached simply to the case as follows:
At the top of the case there are a number of links which appear to the left of the save and save and exit buttons (Figure 1). One of these is 'List or Attach Files', which is the menu that houses all the attachments for your case. Click this link to open the menu.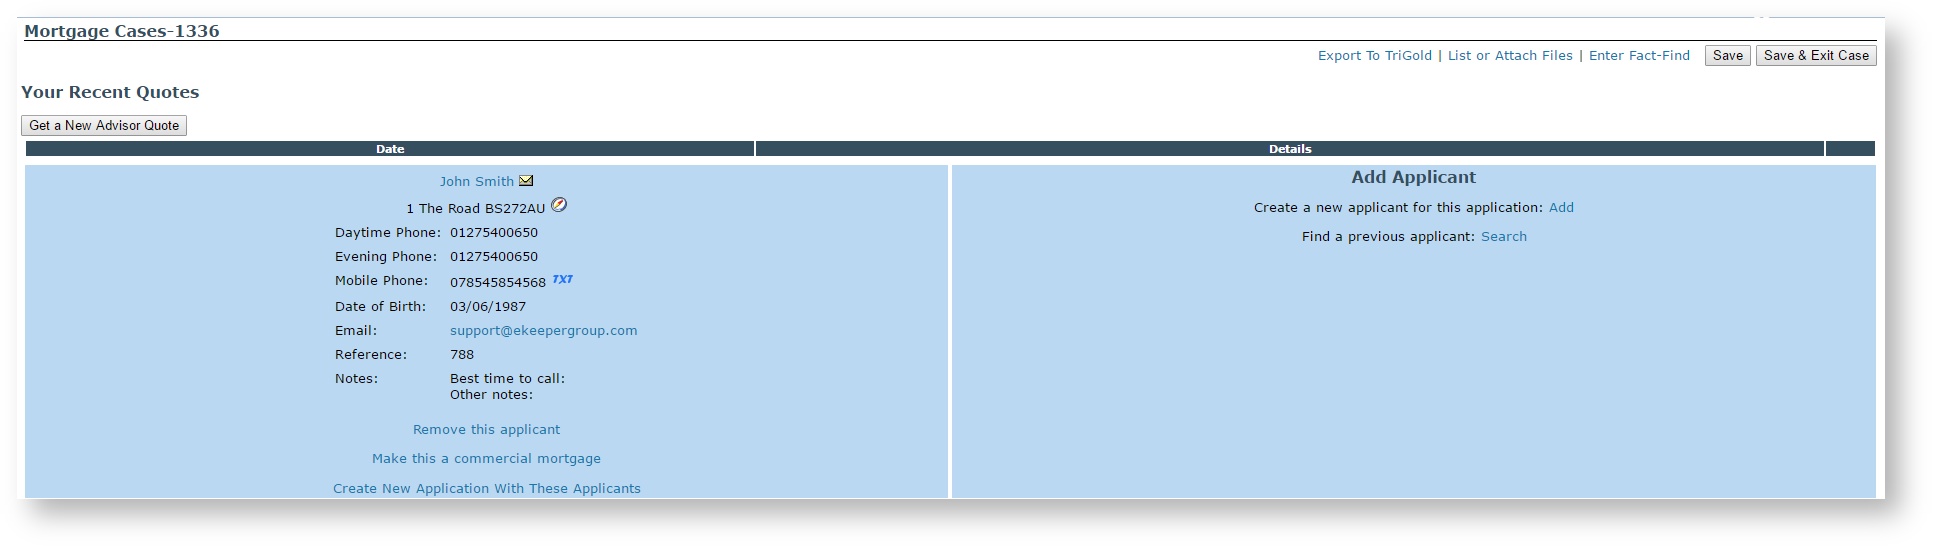
Figure 1 - Case page
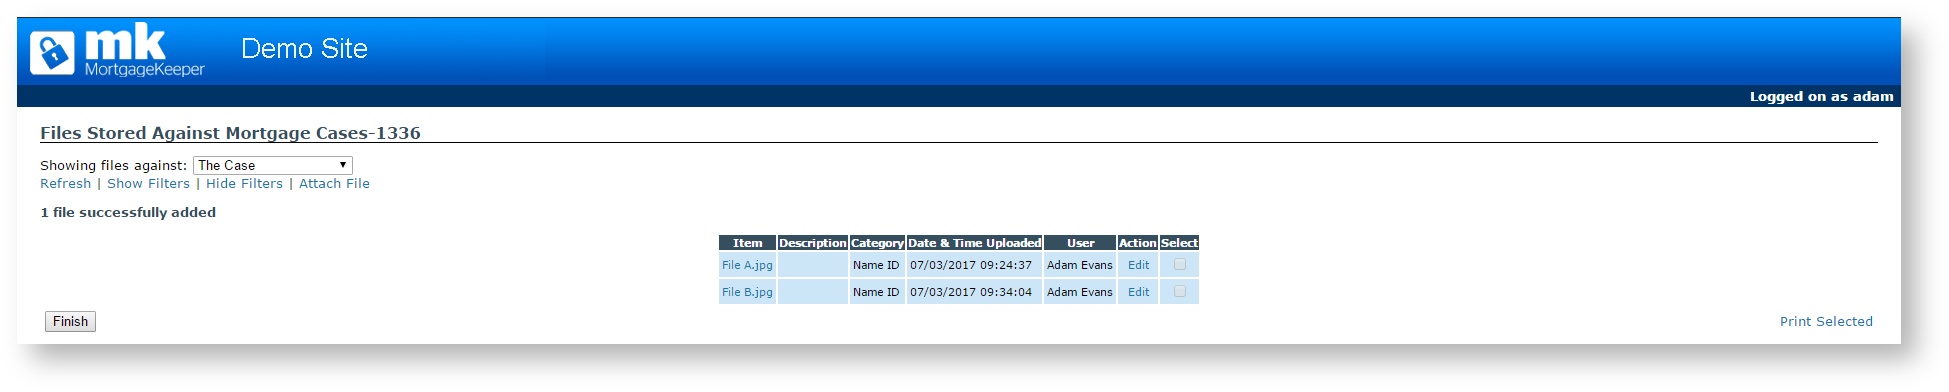
Once you have opened the file attachments screen you should see something similar to figure 2 below. You download and open existing attachments by clicking on their name under the item column. If you want to remove an attachment click the edit link and follow the instructions.
Tip
By default the attachments screen shows documents attached to the case, however there is a drop down which will allow you to change the view to tick list (support documents).

Figure 2 - File attachments screen
At the top of the file attachments menu there are a number of links, one of these is 'Attach File' Click this to begin attaching new files to your case. Once there you then have the opportunity to either drag and drop new files, or click the link to browse for a file on your computer. Here you can also set a categorisation for your new attachment and add a description. Once you are done, click the Attach files button at the bottom of the screen.
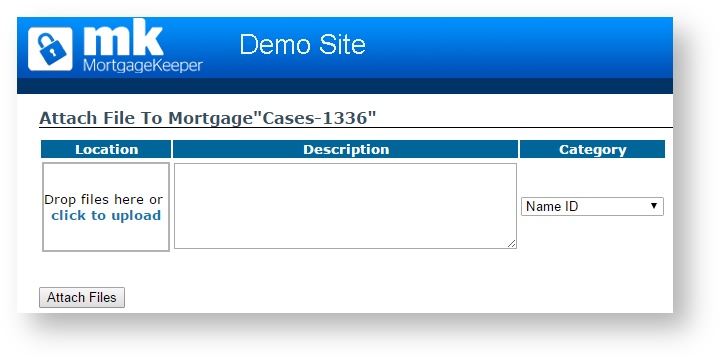
Figure 3 - Attach a file screen
You should now see your new attachment listed (figure 4)