Inbound Emails
eKeeper CRM has on optional inbound email functionality to supplement the outbound email service
You will need to advise eKeeper Support so we can enable this functionality on your CRM prior to activating the below
Once confirmation of activation has been given navigate to 'Edit your Details' and locate your 'Email Setup' panel
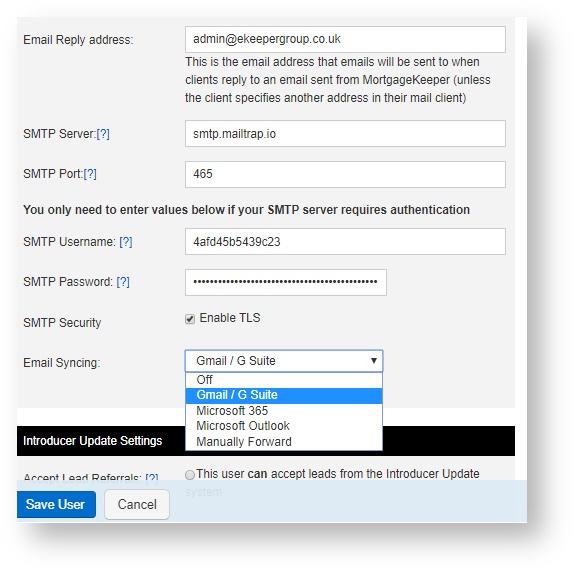
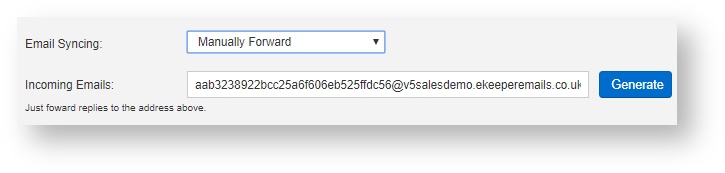
Ensure that your specific SMTP server information is completed and choose your 'Email Syncing' option based on your email provider or preference.
For Gmail no further setup is required
For Microsoft 365, Outlook and Manually Forwarding further setup steps are below
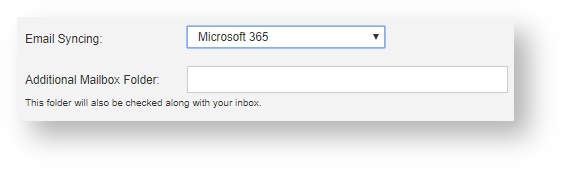
Microsoft 365 and Microsoft Outlook allow you to specify a folder where the emails are pulled from. Simply enter the name of the folder within your email client into the 'Additional Mailbox Folder' field
Email Forwarding requires you to forward all emails you wish to input into a case to the email address listed, with the 'Manually Forward' option chosen
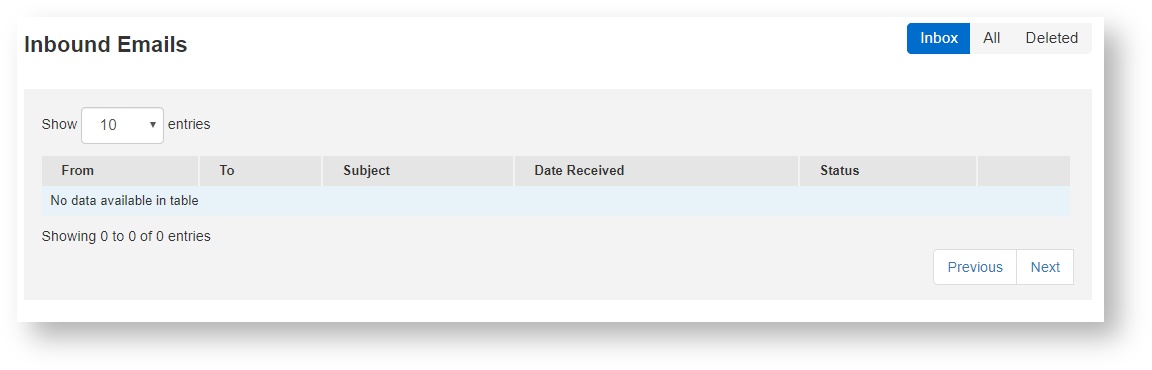
Once enabled within your header bar there is now a NEW email icon which will alert you to inbound emails

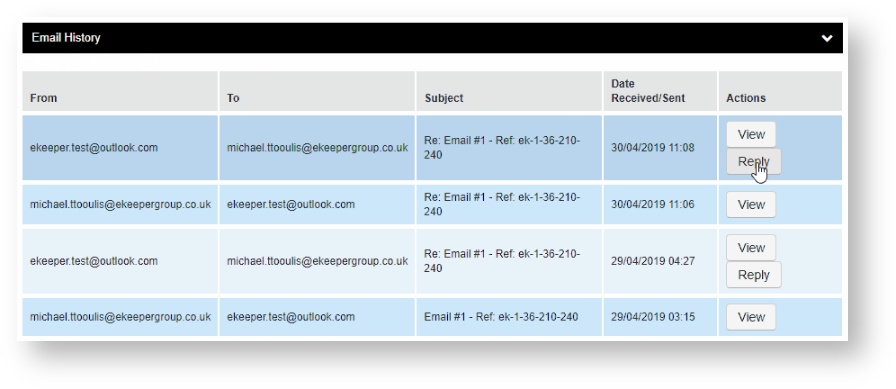
The email icon in the header bar links to the new Inbound Emails panel on your dashboard which will show emails located your inbox from an email address contained within your eKeeper address book
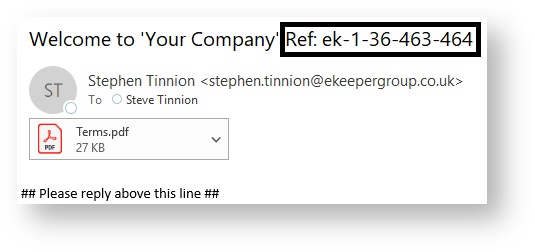
When an applicant replies to an email you created within your eKeeper CRM the email will automatically be added to the case. It does this by adding unique coding to the subject line of the email you initially send to the applicant
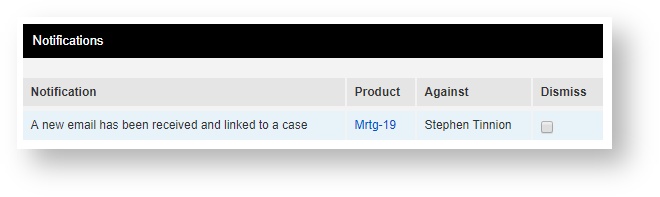
When an applicant replies as above, you will receive a notification on your dashboard linking to the case to advise that an email reply has been received
There is a new 'Product Timeline Panel' that will need to be enabled so to show the email communication history within the case. This section can be found by heading to System Settings > Products > Product Page Layout
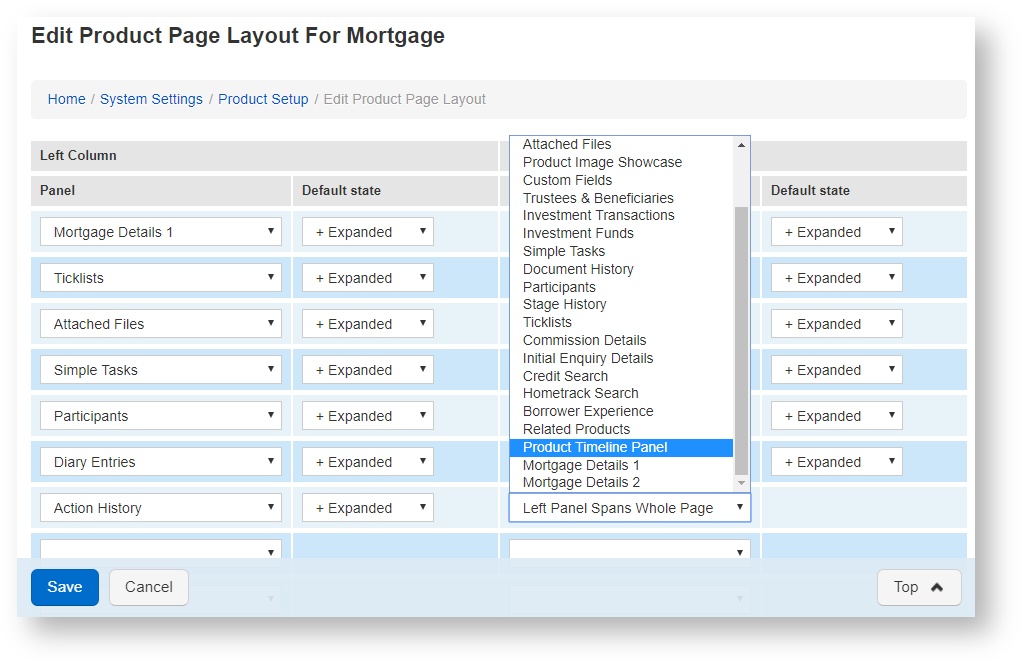
Once enabled this gives you the ability to reply to emails from within the panel under the 'Actions' heading