Setting up a new User
- Adam Evans
- Roly Birkwood
- Michael Ttooulis (Unlicensed)
Note: In order to follow this guide you will need the permission "Can maintain users" enabled for your user
Introduction
This guide will show you how to create new users in your eKeeper CRM. In order for your staff members to have access to your CRM they must be setup as a user in the system, each user must also have a license assigned to them before they can continue to doing any work with the system.
Checking whether you have enough licences
Before a user can access the full functionality of eKeeper CRM they must have a license assigned to them. This section will show you have to check which users have been assigned licences.
To begin login to the system and click the System Settings link that appears in the top navigation bar from any page (figure 1).
![]()
Figure 1 - Top Navigation bar
You should now see the system settings menu (right). Look for the Manage Your Users section and click the Maintain MortgageKeeper Licence link (figure 2)
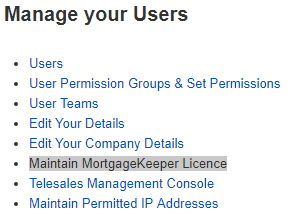
Figure 2 - Manage your Users section
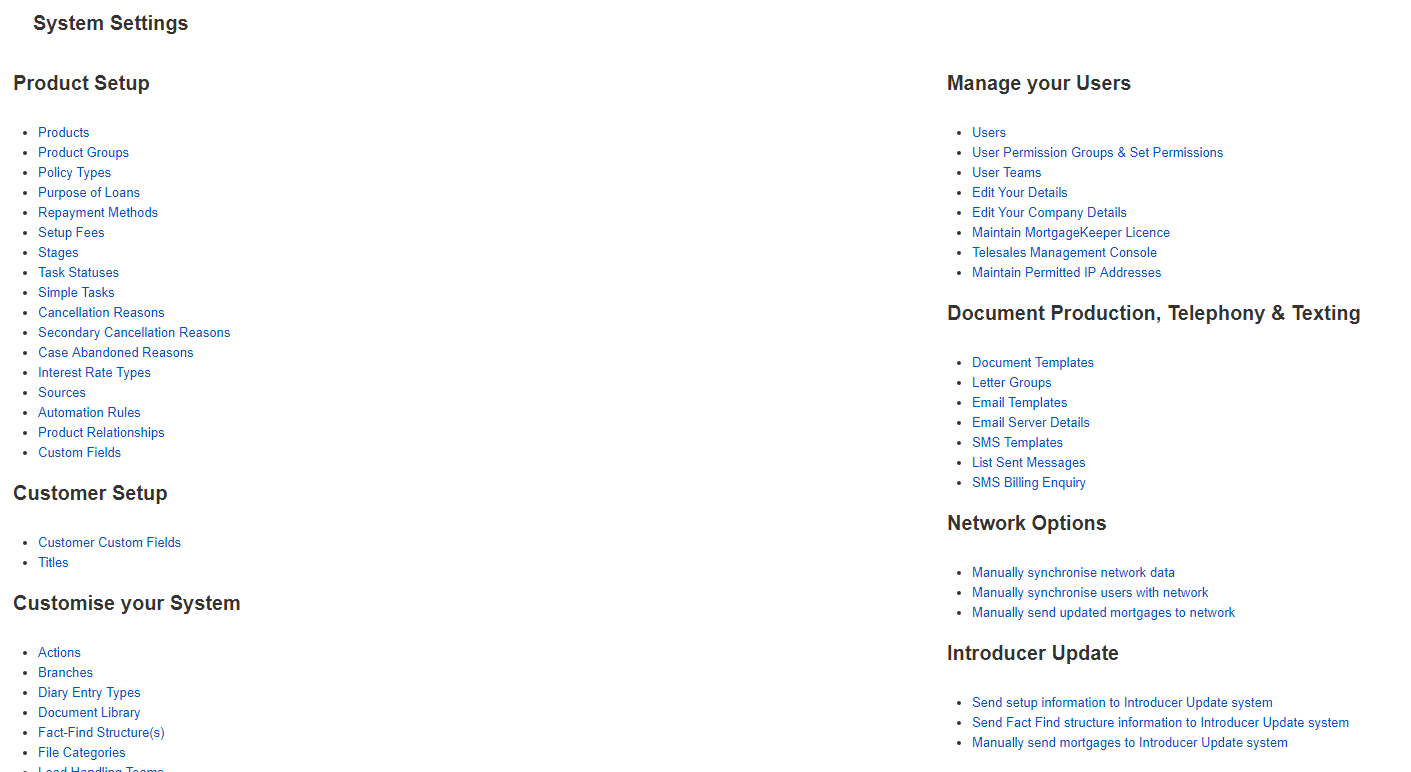
System Settings Menu
Assigning a license to a user
You should now see the Maintain MortgageKeeper License Page (right). This page lists the users that have already been setup in your eKeeper CRM, Note that there are checkboxes next to each user listed, Simply check the checkbox next to the user you wish to assign a license to.

Figure 3 - User with assigned license
Once you have allocated your licences hit the Update button to confirm your selections. The update button appears in the bottom navigation bar.
![]()
Figure 4 - Update button
How many licences to I currently have?
Beneath your list of users you will be able to see how many licences you have in total and also how many have been allocated (Figure 5).

Figure 5 - Total licences Allocated and unallocated
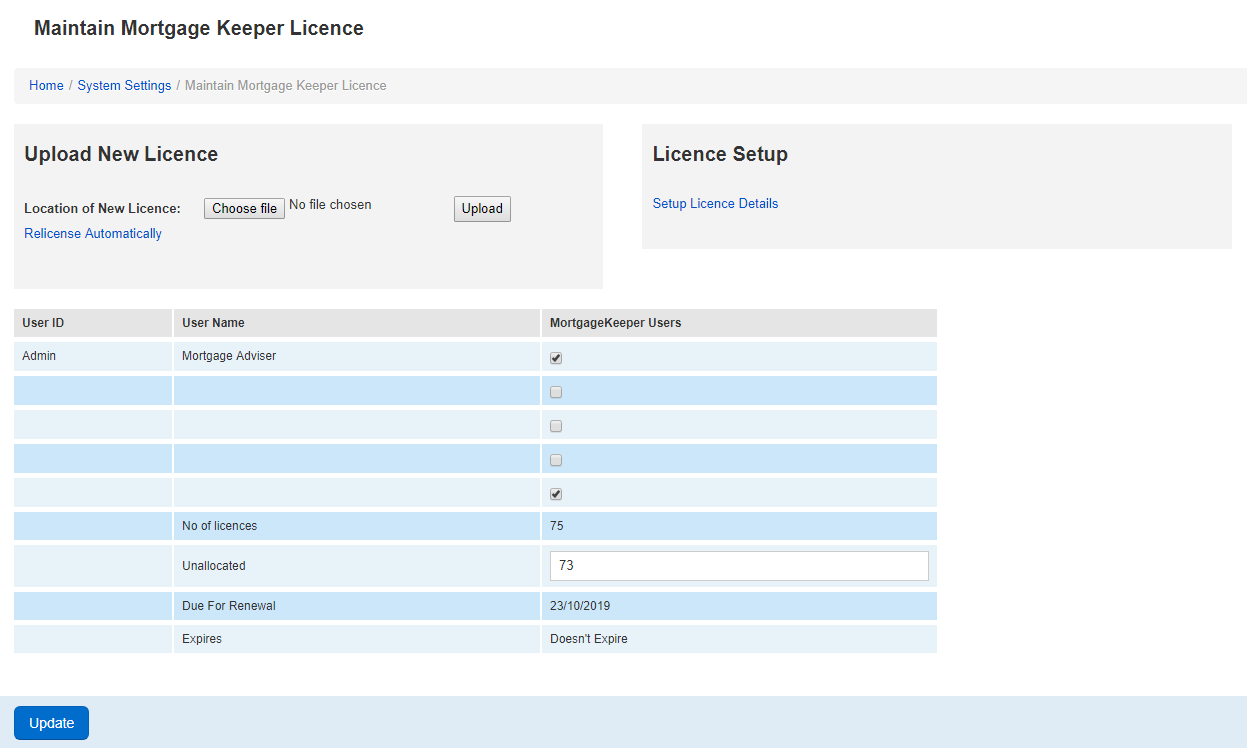
Maintain MortgageKeeper License Page
(note we have blanked out user credentials above to protect their identities)
Finding your user list
Now that you know how to check your licences and how to allocate them to users. The next thing you need to learn is how to find your user list.
To begin make sure you are logged into your eKeeper CRM. Next click the System Settings link that appears in the top navigation bar from any page (figure 6).
![]()
Figure 6 - Top navigation bar
What is the user list?
The user list is a list of users that are currently setup in your system. Each user can be active or inactive and also be allocated or unallocated a license.
You should now see the system settings menu (right). Look for the Manage Your Users section and click the Users link (figure 7)
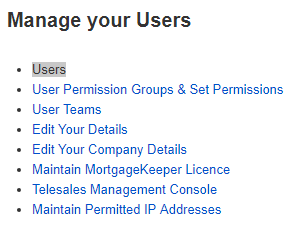
Figure 7 - Manage your Users section
System Settings Menu
Creating new users
You should now see the user list page (right). To create a new user find the new user button on the bottom navigation bar
Figure 8 - New User Button
Tip
You can also amend an existing user's details by clicking the edit link against the relevant user's entry
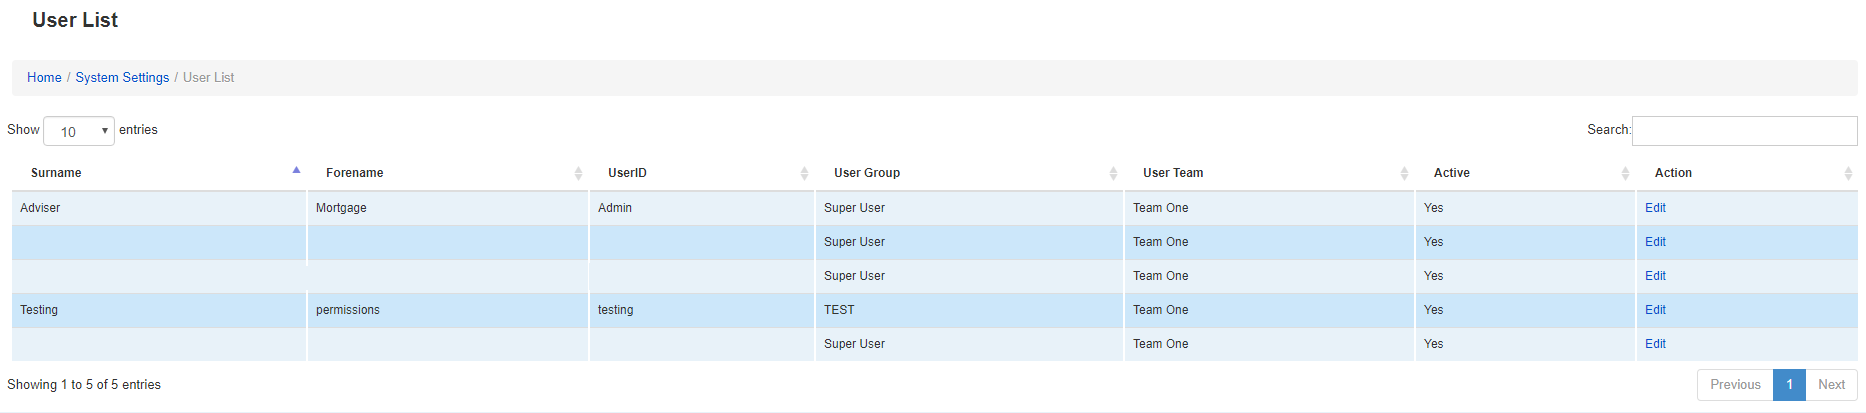
User List
You should now see the new user setup page (right). There are a number of panels on this page see below for an explanation of each
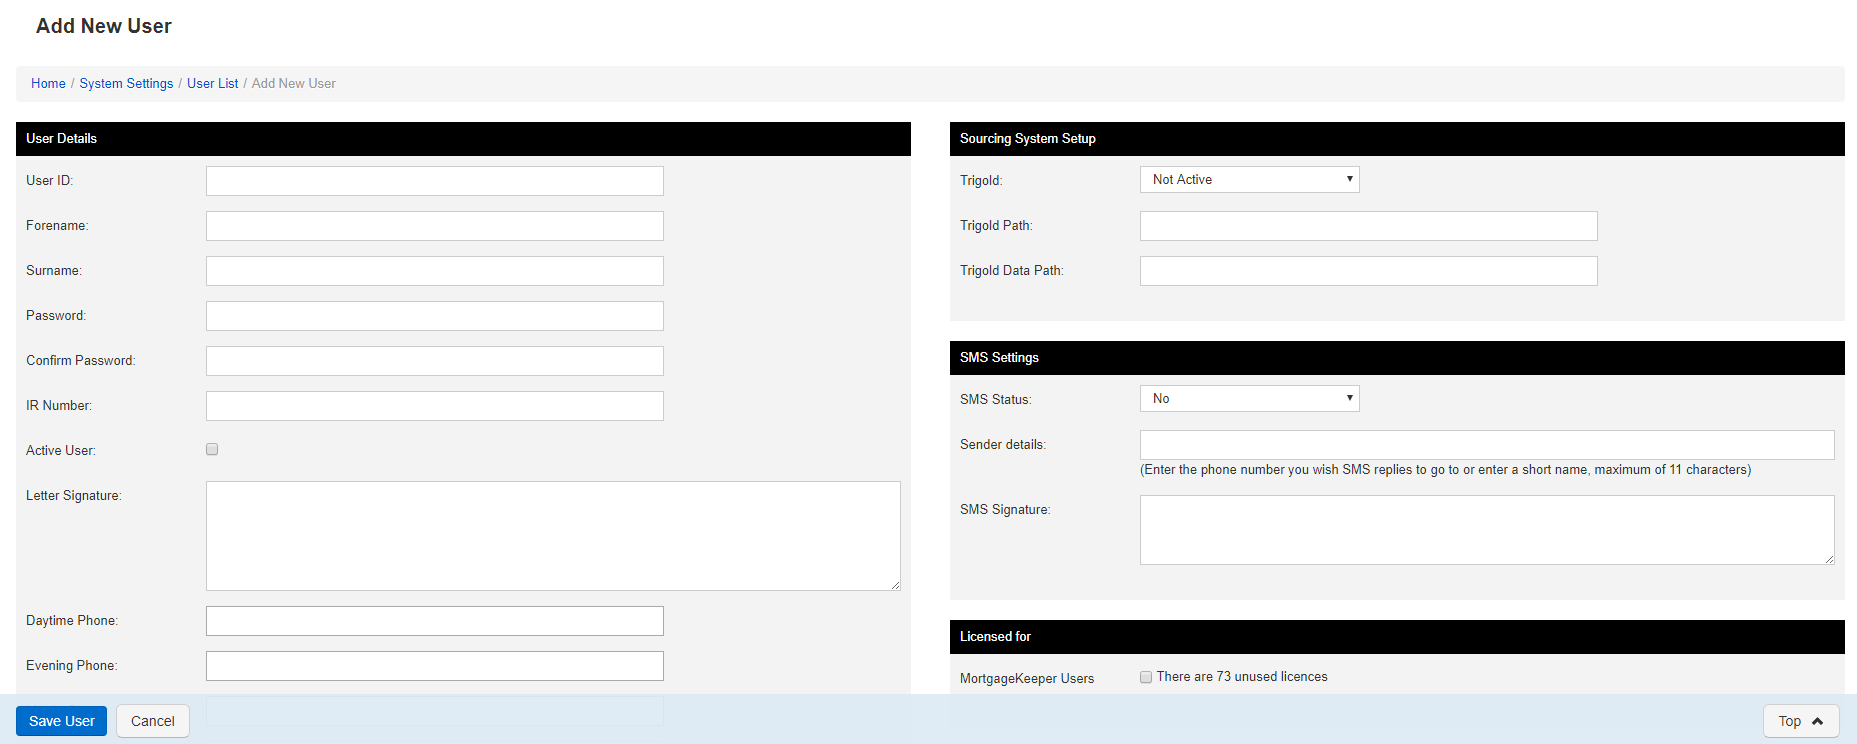
New user setup page
User Details Panel
The user details panel provide options for basic setup of your user. Here you can enter the desired User ID for the user, as well as contact details.
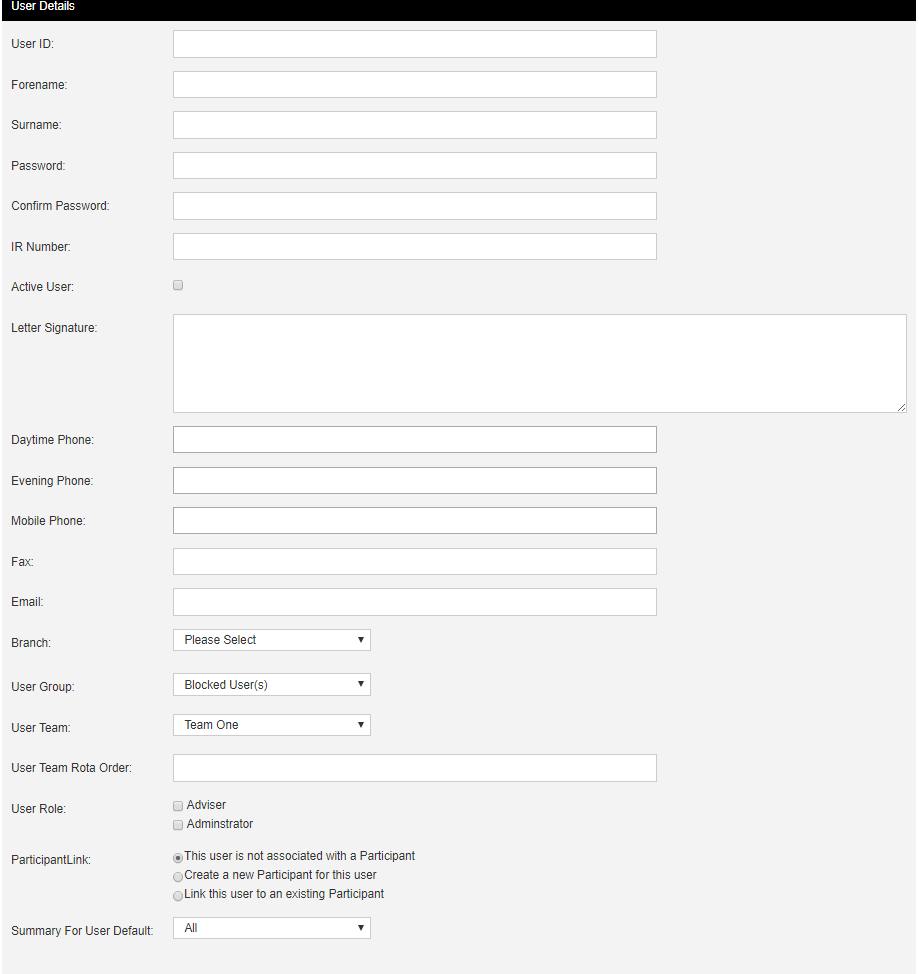
Figure 9 - User Details Panel
Outgoing email setup panel
The Outgoing email setup panel provides options for you to link your eKeeper CRM with your email service provider. This will allow you to send emails out of eKeeper using your own
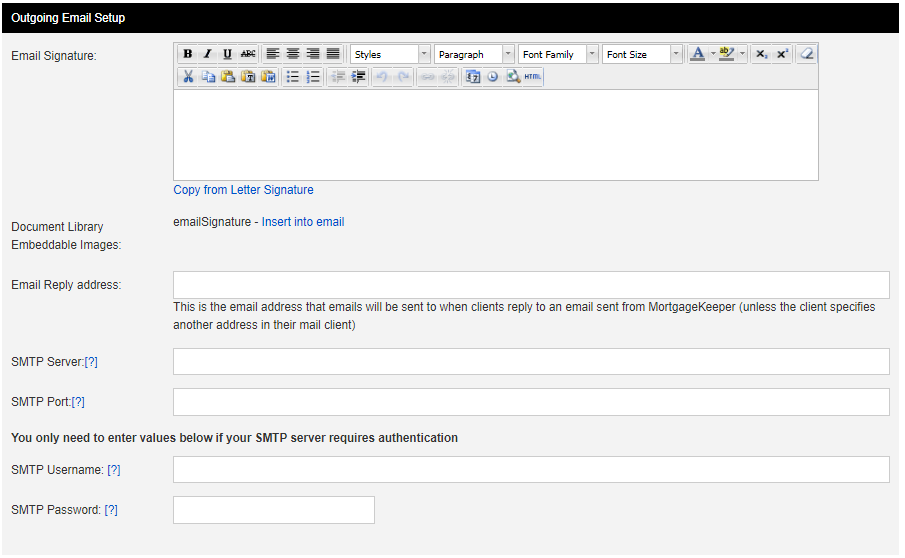
Figure 10a - Outgoing email setup panel
Note
Currently eKeeper CRM allows only outgoing emails to be sent. In coming emails will arrive back at your email client e.g. outlook, gmail etc.
Email Signature
Email signature:
This box can be used to add your desired email signature, this can be included at the bottom of emails you send from eKeeper CRM.
The inbuilt editor allows you to style your add you preferred styling:

What if I have the raw HTML code?
If you have been provided with the HTML code for your signature, then this can be added through the above menu option by selecting TOOLS and then < > SOURCE CODE.
IMPORTANT
It is important to understand that advanced JavaScript and CSS code maybe blocked for security purposes. Therefore, if you find the style or some images do not work, then please contact the supplier of your email signature source code, as they should be able to provide an alternative.
Document Library:
The document library houses any unchanging logos or documents.
As a user, you can add an email signature logo, which can then be inserted into your email signature.
By using this facility, you are protected from changes that could take place on an externally referenced image being used from a website.
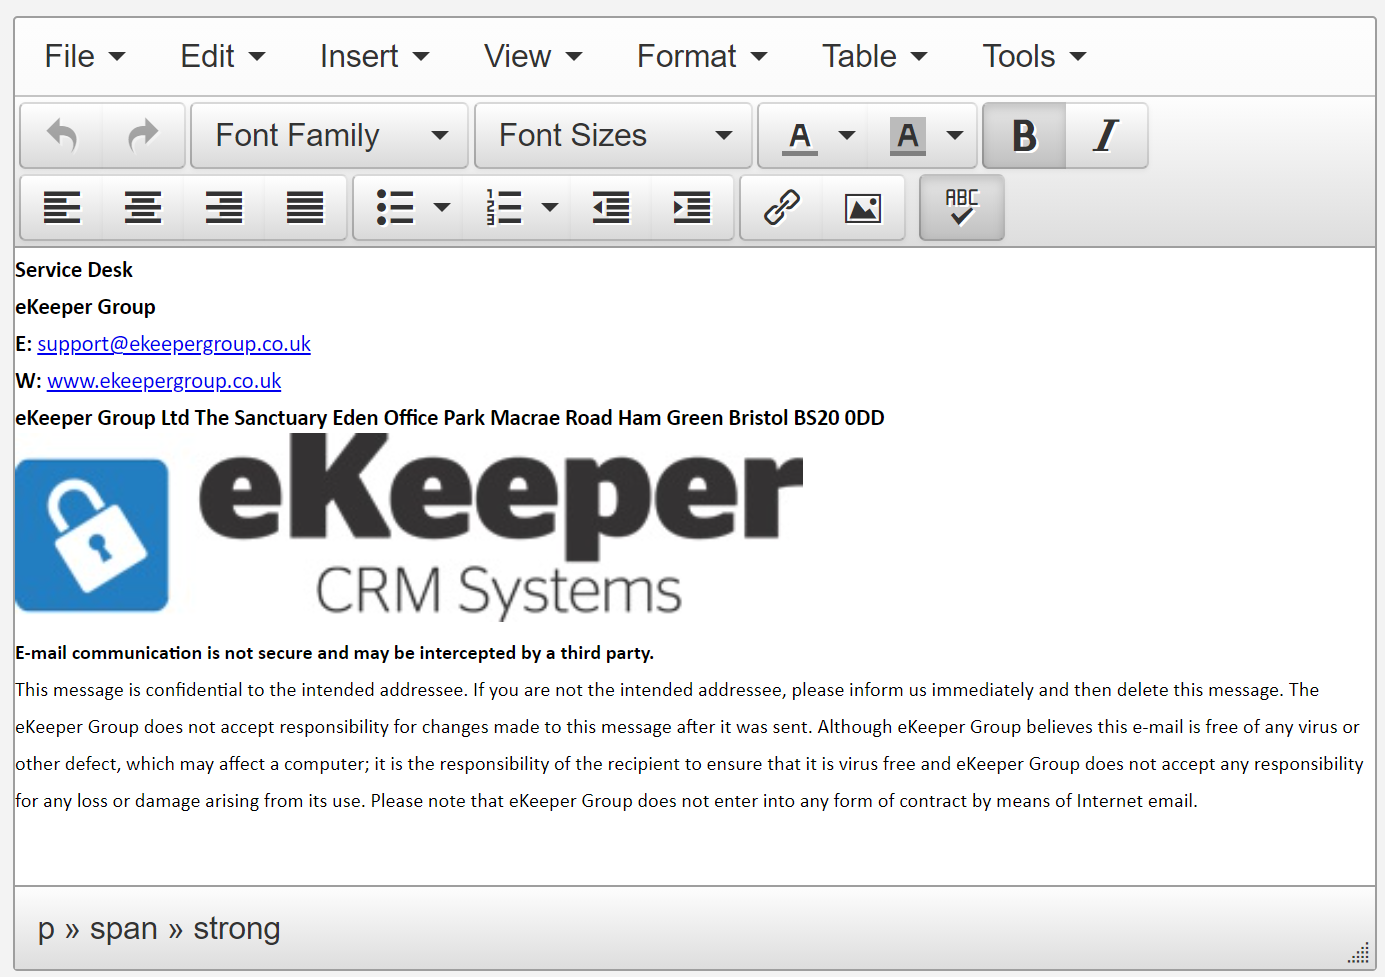
Figure 10b - Outgoing email signature
Sourcing System Setup Panel
The sourcing system setup panel allows you to configure integrations with trigold.
Note
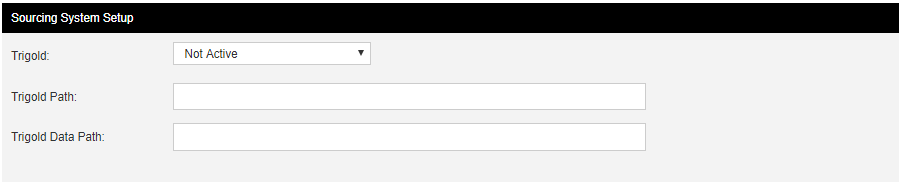
Figure 11 - Sourcing system setup panel
IMPORTANT
Although the sourcing system setup panel appears in the user profile, your system and individual user's machines will need to be configured by an eKeeper service desk representative.
Please contact: 01275 400 650 so that a member of the team can configure your user's machine.
SMS Settings panel
The SMS settings panel allows you to configure if your new user can send text messages from the system.
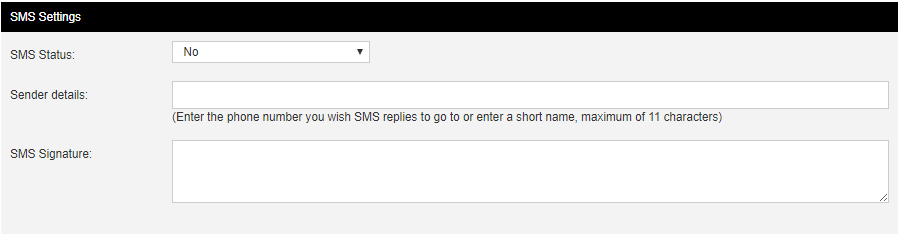
Figure 12 - SMS settings Panel
Important
Please note that there is an additional charge per text message that is sent out from eKeeper CRM. These charges are collated and added to your monthly invoicing.
Licensed For panel
Here you can allocate an available licence to the user you are creating.

Figure 13 - Licensed For panel
Important
Your user will not be able to access eKeeper system features unless they are licensed. If you do not have enough licences for your user please contact support@ekeepergroup.com to request a new one. Note that licences are charged per month (+VAT), so an increase in licences will come at an additional cost.
Lead Referral Panel
The lead referral panel enables you to enter your lead referral details so that you can receive NACFB leads.

Figure 14 - Lead Referral user Details Panel
Note
Note that you must be a member of the NACFB before this will work
Default Associated Users
Use the default associated users panel to assign an associated adviser or administrator to the user you are creating.
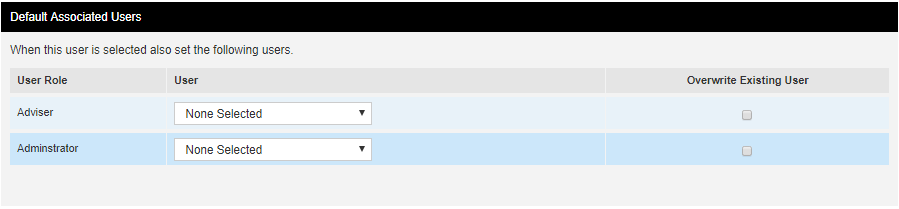
Figure 15 - Default Associated Users
Saving your changes
Once you have finished setting up your user click the Save user button that appears on the bottom navigation bar.
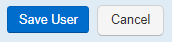
Figure 16 - Bottom Navigation Bar
You will then be prompted with a password box. Enter your password i.e. the logged on user's password. To confirm
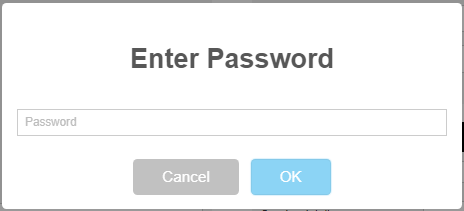
Figure 17 - Enter Password prompt