Search views


Contents

This article contains the following sections

Introduction

This article will describe how you can create a new search view in your system to use with the reports that you generate out of eKeeper CRM.

Tip

If you would like to learn how to use search views when reporting please see our Using Search Views article.

 What are search views??

Search views allow you to change the data that is displayed against your search results when running a search via the Advanced Search. See the Reporting and exporting (v3) guide to learn how to run searches. 

Creating a new custom search view 

To create a new custom search view, first navigate to System Settings > Search Views.

You should now see the Search View List page (figure 1 below)

Once there you should see a list of existing search views that are currently setup within your system.


Figure 1 - Existing Search View List

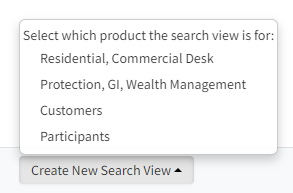
To create a new search view click the Create New Search View button, then select the type of product that you wish to create your new search view against (figure 2 below).


Figure 2 - Create New Search View Button
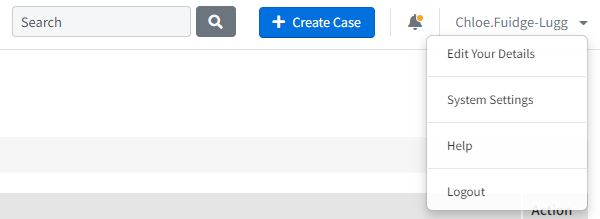
 Navigating to the search view setup page

Step 1:

Click System Settings in your top navigation bar
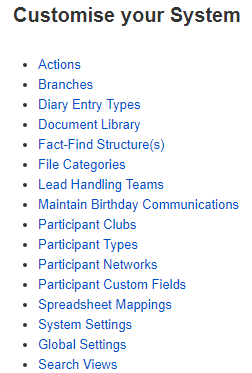
Step 2:

Find the Customise your System section within the system settings menu


Configuring your new search view

You should now see the New Search View page (figure 3 below).


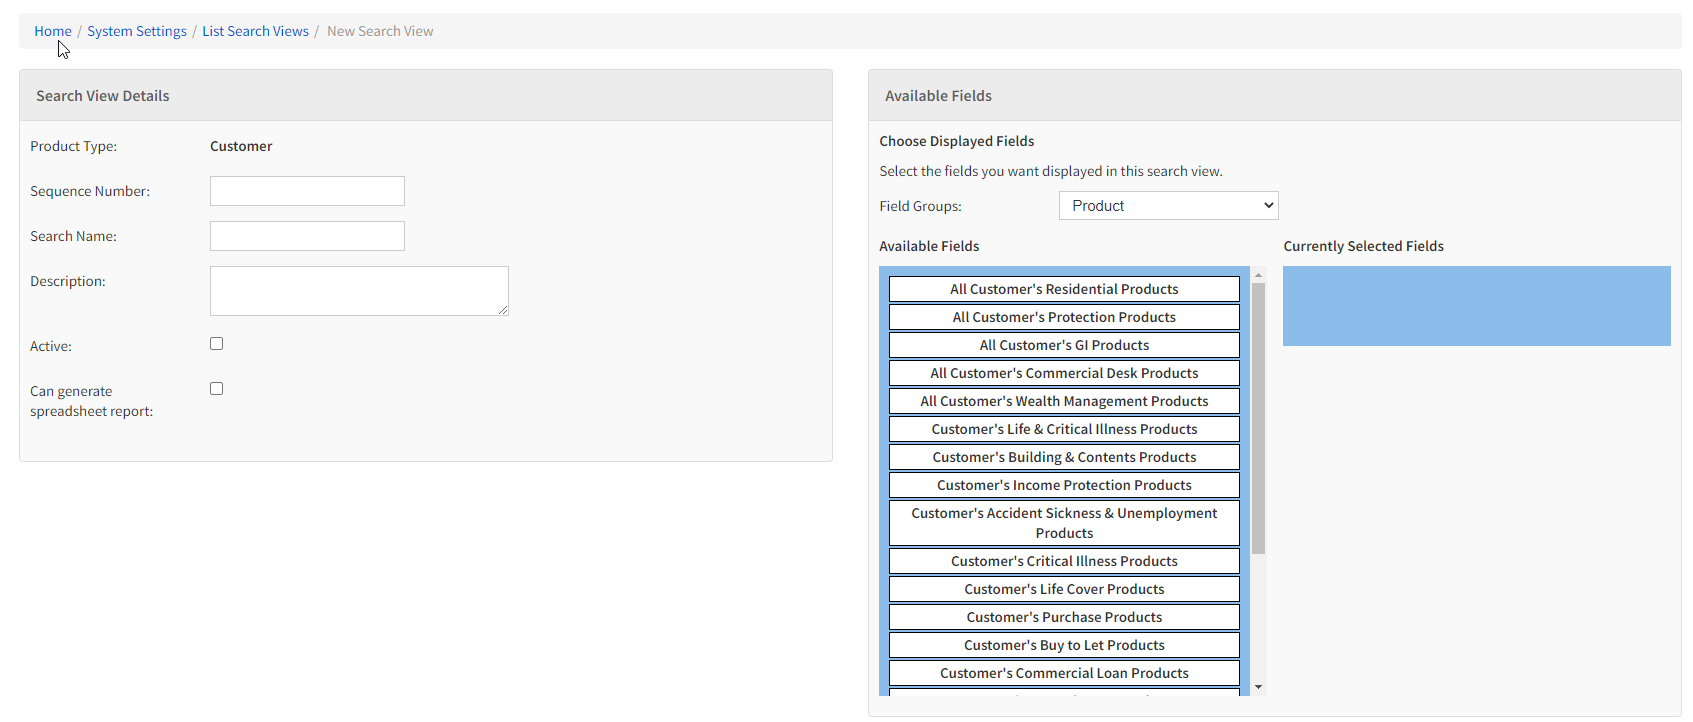
Figure 3 - New Search View Setup page

There are two panels here which are described briefly below: 


Search View Details Panel

The Search View Details panel (figure 4 below) enables you to name the search view that you are creating and also make active/inactive the search view you are editing. You can also add a short description of the search view, to help you later on. To continue enter at least a Sequence Number and a Search Name, also make the search view active if you intend to use it immediately. 


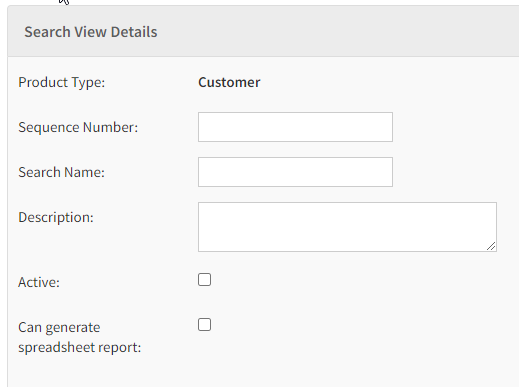
Figure 4 - Search View Details Panel 

 Search View Details panel explained


Look to the left panel labelled Search View details (figure  20).

  • Sequence Number - This determines the order in which the search views appear relative to each other when selecting them against your searches. 
  • Search Name - the name of your search
  • Description - This can be used to describe your search, so that you know what the search is looking to pull from your products/cases
  • Active - this allows you to turn on or off the search view to make it available to your users or not. 
  • Can generate spreadsheet report - this determines whether your search view can be used to export your product and case data to an spreadsheet file. 

Available Fields panel

The available fields panel enables you to select the columns of information that will appear when you utilise your new search view. 


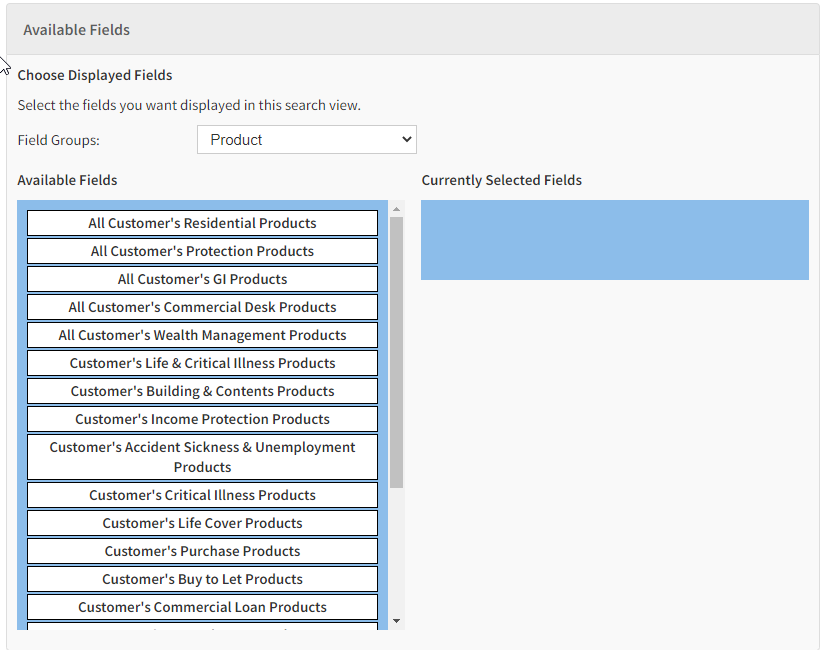
Figure 5 - Available Fields


Note

Search views do not determine which cases and products display in your results, they determine what information is displayed against the cases and products in your search results


Selecting the area of eKeeper to pull information from

To begin selecting fields you have to decide on the area of your products and cases that you wish to pull data from. To do this use the Field Groups dropdown field (figure 6)


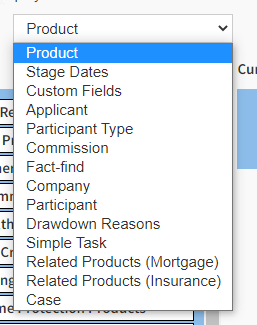
Figure 6 - Field Groups dropdown field

 Field Groups explained

To begin selecting fields you have to decide on the area of your products and cases that you wish to pull data from. To do this use the Field Groups dropdown field (figure 22)

  • Product - Pulls product specific information such as Lender product, Loan Amount, Valutation, Application Reference etc.
  • Stage Dates - Here you can select the last date your search results were at a particular stage. e.g. last date at Enquiry stage
  • Custom Fields - here you can display data entered into custom fields on your product
  • Applicant - use this menu item to pull data from fields against applicants that are associated with your search results e.g. Applicant's name, email address, telephone number etc.
  • Participant Type - Use this menu to pull information from your search results relating to a particular participant type. e.g. you can pull the estate agents phone number, or the introducer's company name etc.
  • Commission - Use this menu item to pull infromation from your search results relating to  the commissions incoming or outgoing e.g. broker fee, or commission due to an introducer
  • Fact-find - Use this to pull information from your search results relating to the answers filled into your product's fact-find
  • Company - If your search results contain cases/products that have associated companies, then you can pull the company information. e.g. Company number, Company registration number etc.

Selecting Specific information to pull into search results

Once you have selected the area you wish to pull information from, you will find that the available fields list box dynamically updates to match your chosen area. To select a desired field simply drag and drop the field to the Currently Selected Fields list box (figure 7)


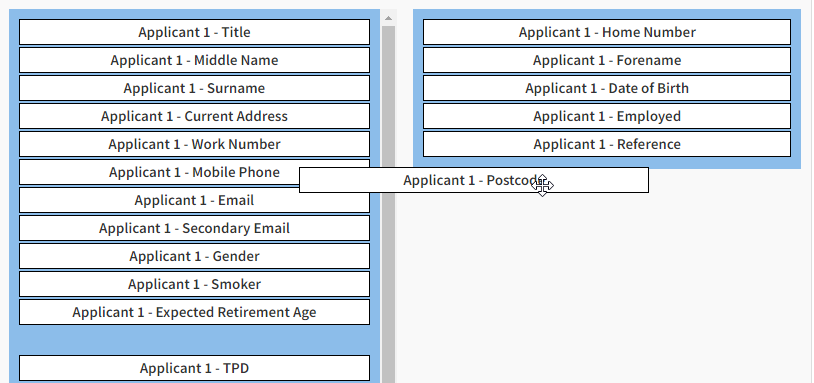
Figure 7 - Available fields panel 

 Available Fields explained

The available fields list box, displays the fields that are available in the selected field group area.


Saving your search view

Once you are finished click the Save Search View located in the bottom navigation bar (figure 8)


Figure 8 - Navigation Bar (bottom)


Contents

This article contains the following sections